

Det var kärlek vid första ögonkastet!
Jag är här från Lojo, hej! Jag har startat mitt eget målarföretag för första gången
av företaget 2012. Jag började dock måla redan 1996 när jag gick på yrkesskolan.
Allt har gjorts som är relaterat till ytbehandlingsbranschen och även till byggbranschen, om vi ska vara exakta.
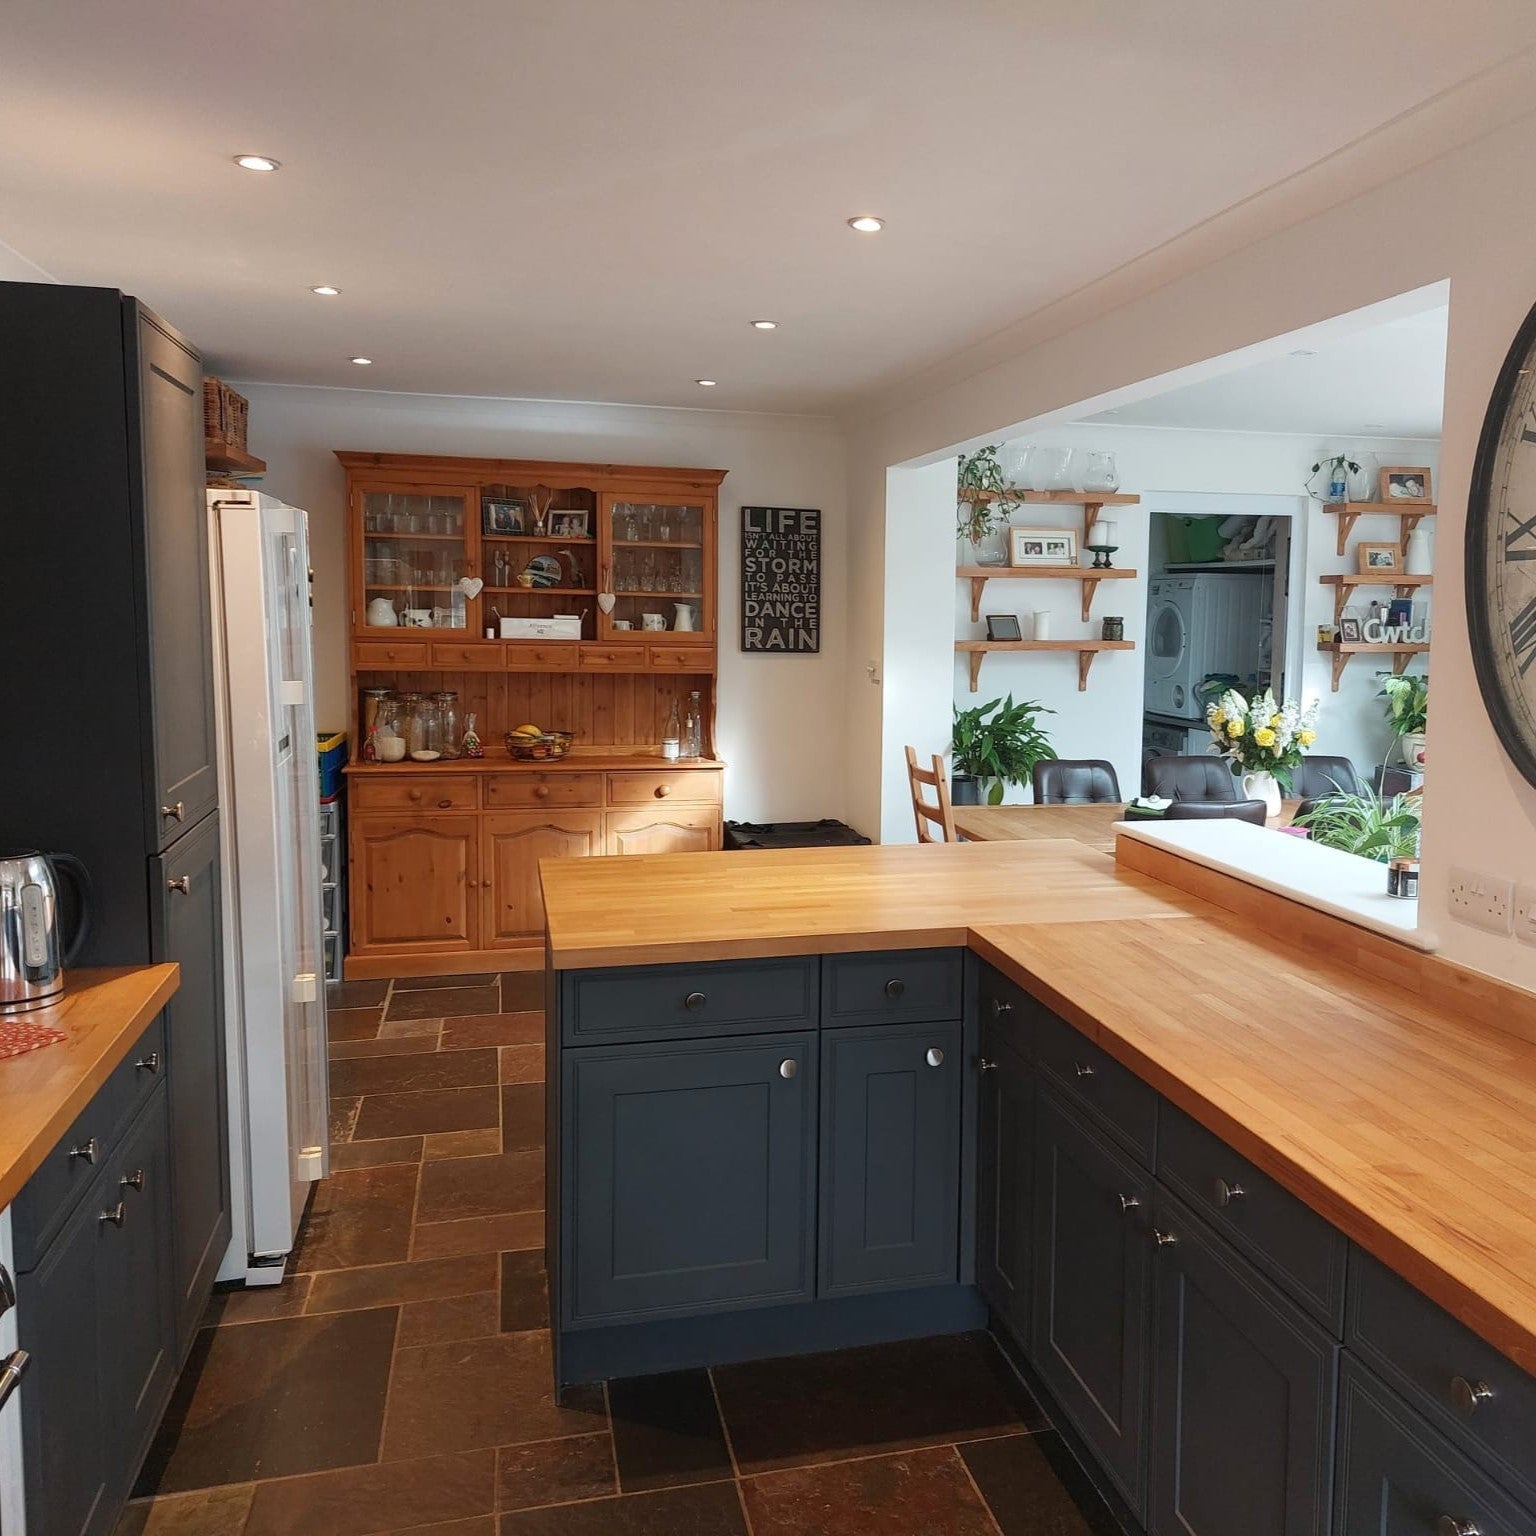
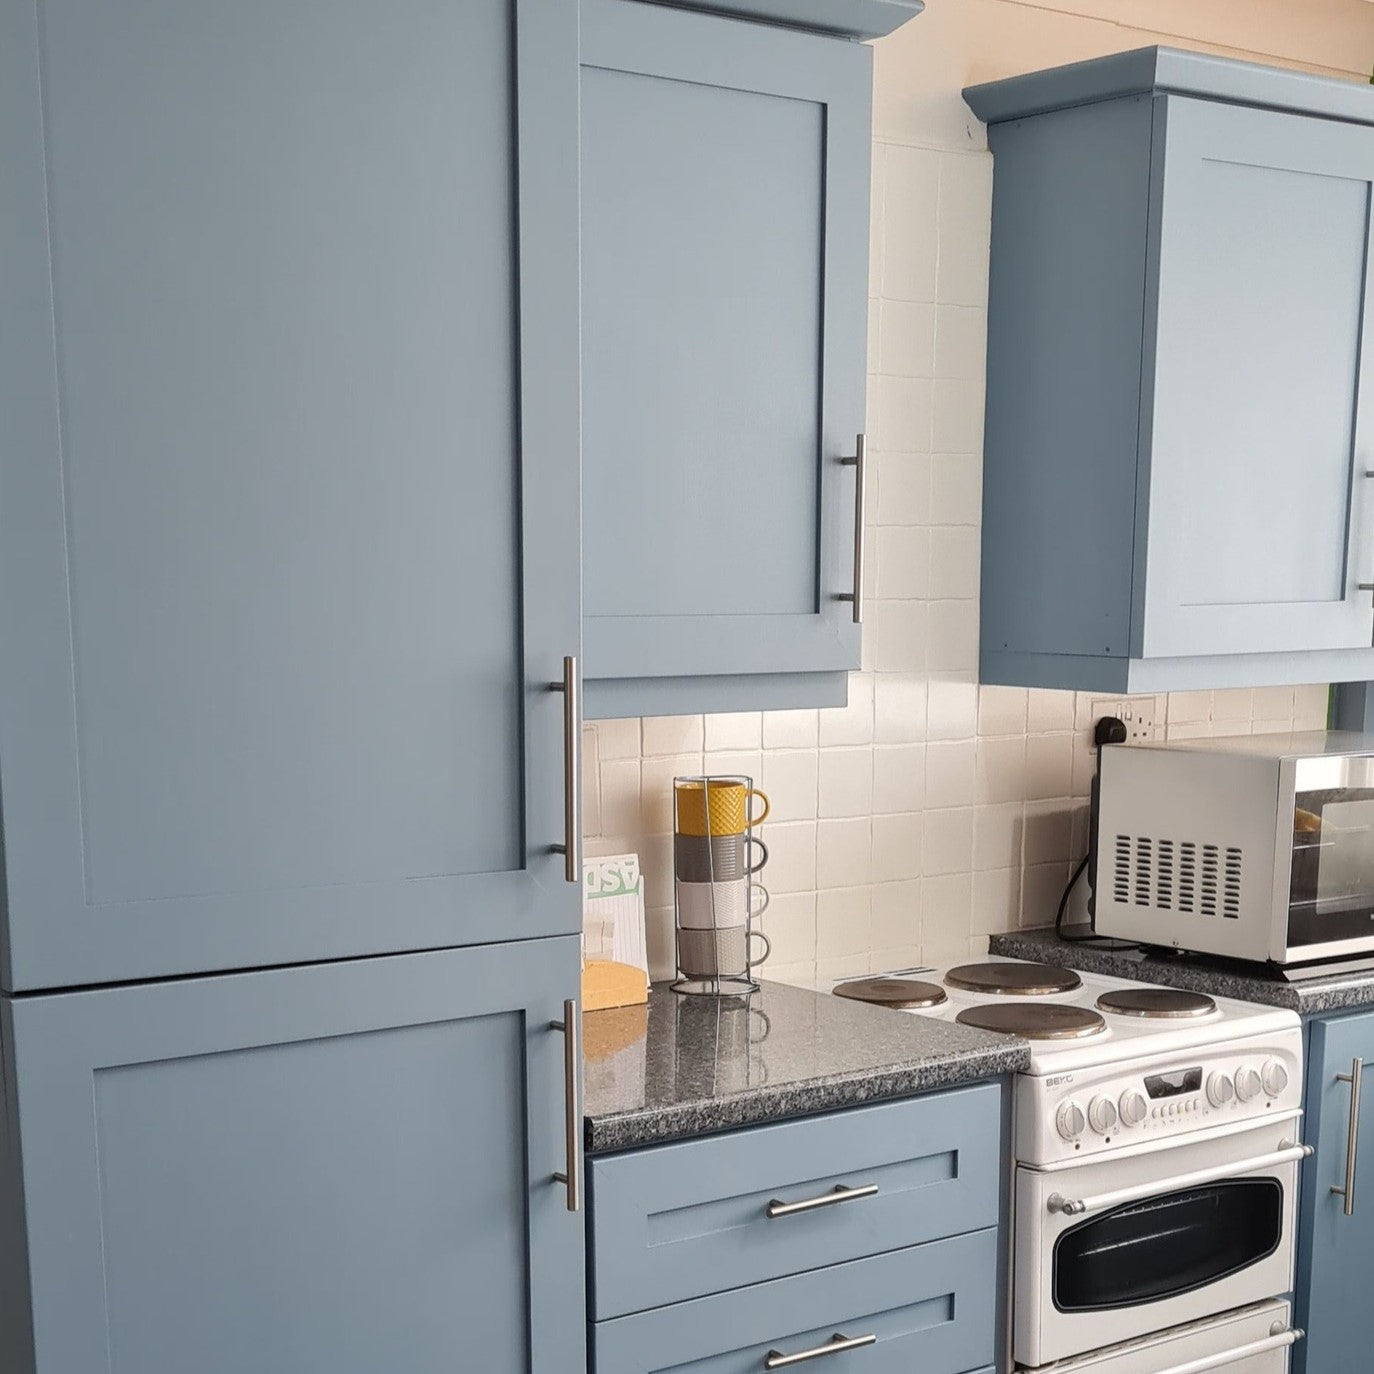
Idag arbetar jag som företagare på SävykäsRestore Oy, som
erbjuder renovering, färg och inredning, möbelrestaurering och målning.
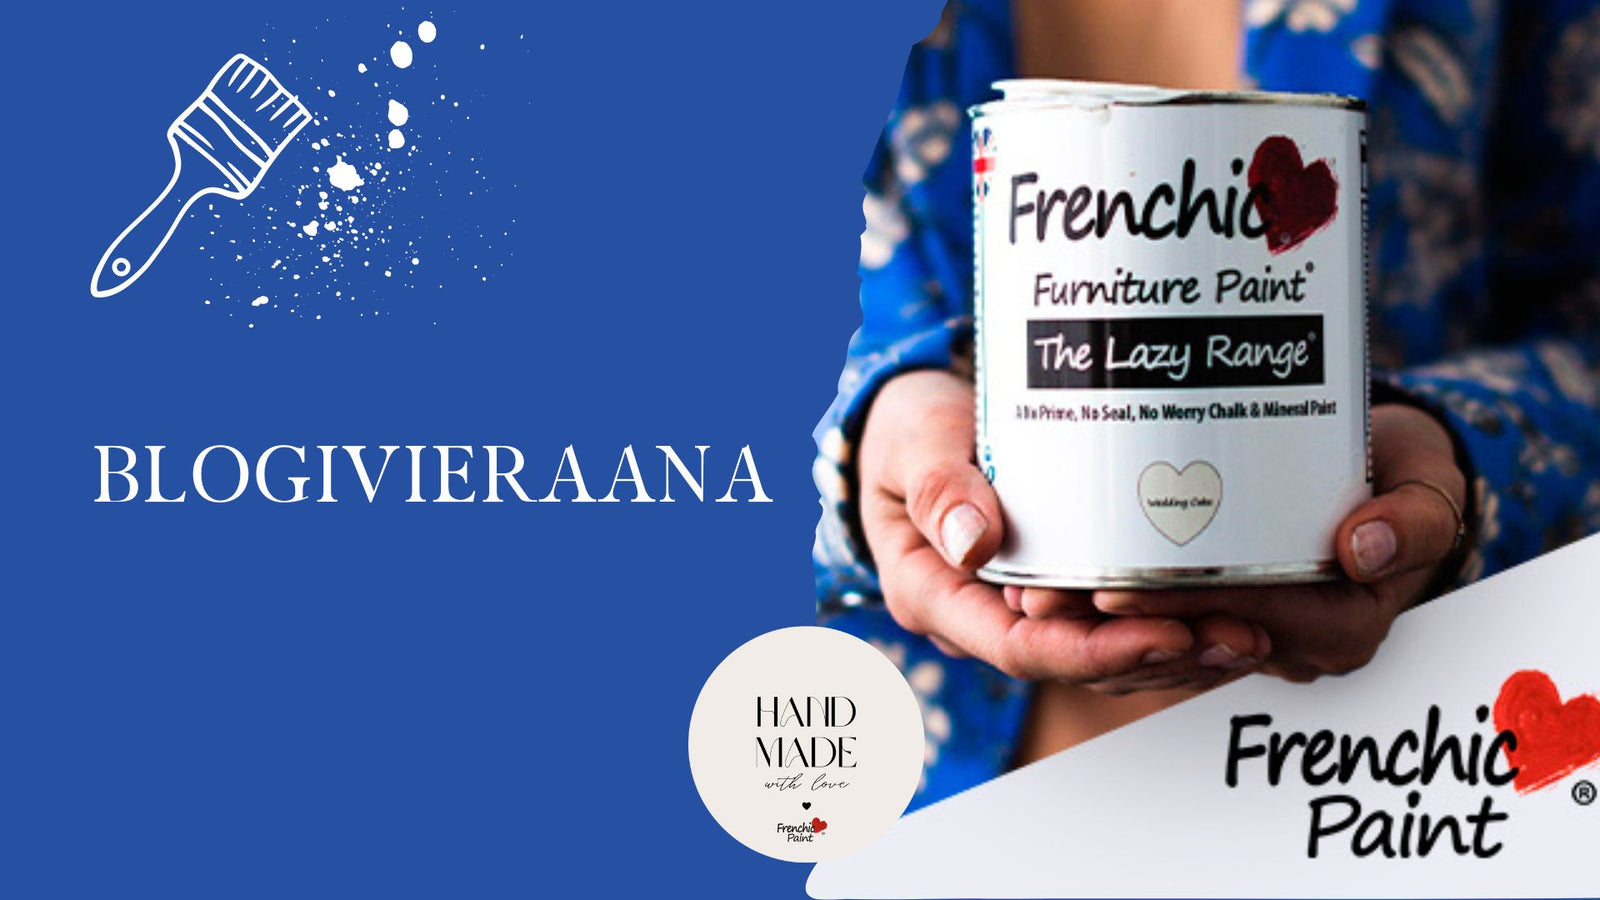
Frenchic Paint® ingick i mönstren,
när jag själv hittade målet hösten 2021. Det var kärlek vid första ögonkastet!

Konstellationerna passade i september 2022 och det var så studierummet föddes
butik i Kalkkipetter kontorshotell, Kievarintie
Jag virkar i Lojo. Jag målar möbler i ateljén
som kund fungerar eller egendesignad och trimmad för försäljning.

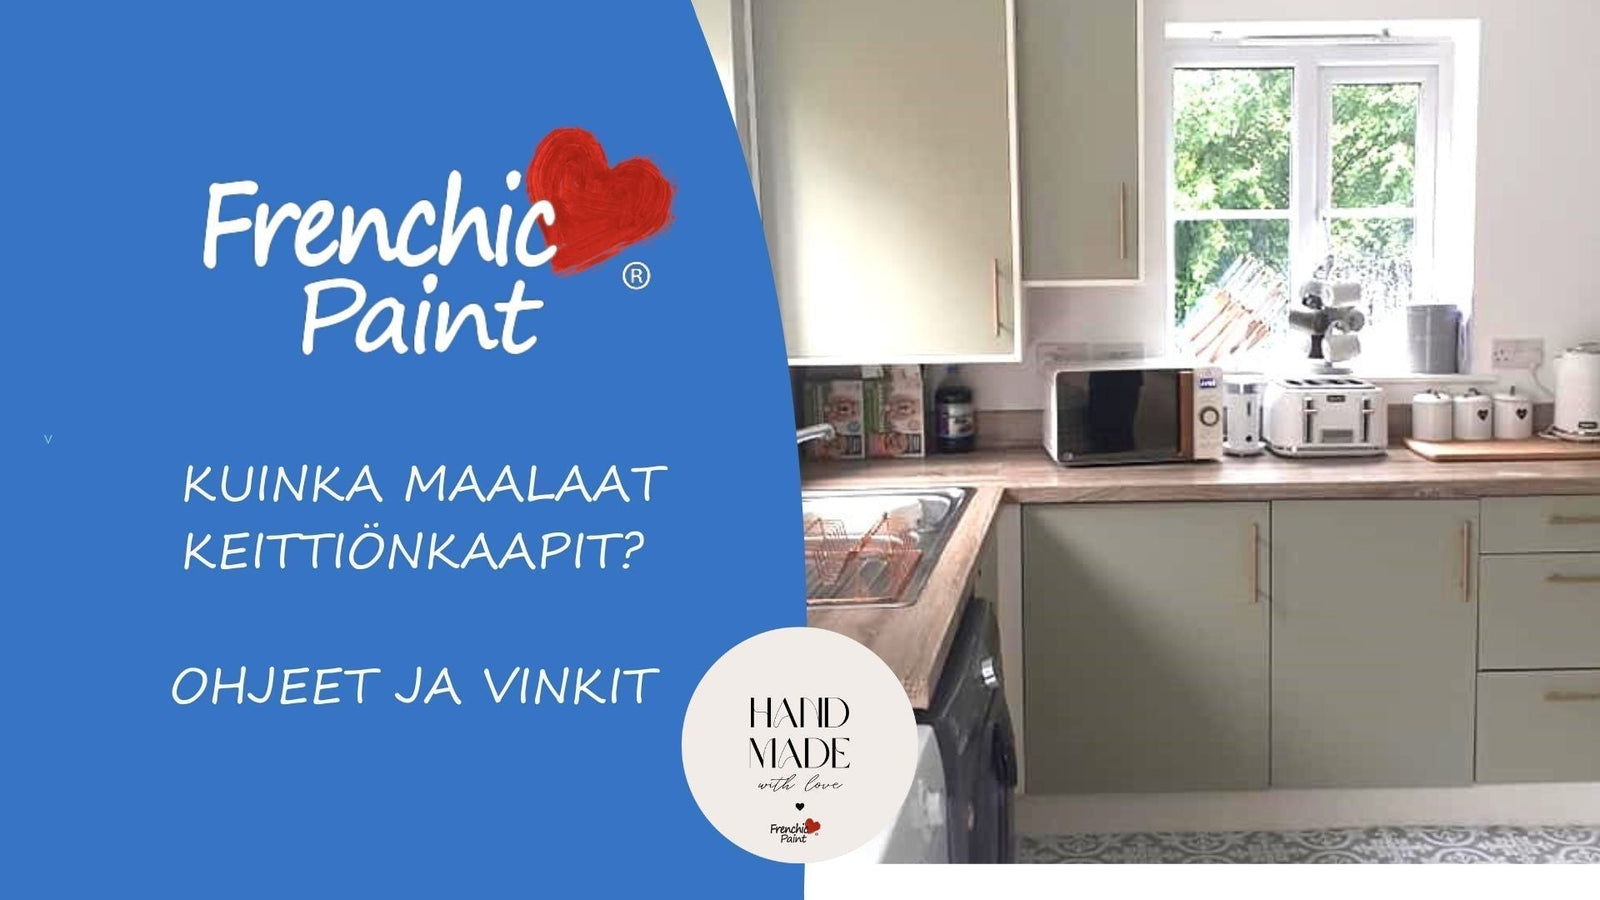
Målarkurser och rådgivning
Här finns även bra faciliteter för att hålla Frenchic Paint®-målarkurser.
Det har varit riktigt trevliga och duktiga målare på kurserna! Här
det skulle finnas några instruktioner för väggmålning för alla entusiaster
för målare.

Grundläggande tips:
Jag har alltid samma råd till gör-det-självmålare:
Glid inte från grunden och investera i bra verktyg!
Jag förstår fullständigt all avsmak för markarbete,
men de skiljer agnarna från vetet! Alla kan måla,
men grundarbetet syns i den färdiga ytan, så bra och
i dåligt.
Börja med att tvätta borden
Förberedelsen av väggen som ska målas börjar med att torka dammet från den.
En långskaftad mikrofibermopp är en bra hjälpare här. Damm och t.ex. Annars kommer spindelväven att få snurra runt målet
i mixen och de torkar till en fin klump i värsta fall i mitten
förbereda väggen.
Tvätta ytan som ska målas ren
Efter att ha tagit bort dammet tvättas väggen vid behov och sköljs
eller torkas av med rent vatten. Det finns överraskande platser av fett
till exempel i sovrummet som en vägg längst fram i sängen, när det finns
trassliga hår grejer eller det finns en lutande arm
under huvudet mot väggen. Hårspray orsakar problem i badrummet
längs väggar och golv.
Nivå och grunda vid behov
Stora hål och bucklor grundas innan utjämning, så att
skriden har en bra vidhäftningsyta och lossnar inte
från sin plattform. Slipdamm avlägsnas från slipade avjämningsområden
försiktigt, annars kan bubbling uppstå i den slutliga ytan,
när färgen inte sitter ordentligt fast på basen. Efter det
de slipade utjämningsytorna grundmålas så att den slutliga ytan inte gör det
det finns skillnader i glans eller kittfläckar visas inte som jämnare kanter.
Då de bra verktygen!
En högkvalitativ roller eller pensel lossnar inte och borstar när du målar.
Håret på en högkvalitativ roller är också format så att det inte lämnar tjocka åsar längs väggen.
Tvätta de nya verktygen innan första målningen och
snurra, skaka, torka och klämma torrt. Det finns verktyg
bra att vara lite (jag menar verkligen lite) fuktig, när de
det är lättare att tvätta när de inte har absorberats helt
måla. Även då är mängden färg det som finns på sidan av burken
vi lovar.
Börja måla från kanterna, d.v.s. genom att göra snitten
Använder du tejp kan du försiktigt måla kanterna direkt med en liten
med en rulle över tejpen. Om du inte använder tejp och målar kanterna
med en borste, tona sedan kanten lite med en roller, sedan nej
borstmärken förblir synliga på den färdiga ytan.
Ett bra knep för att få riktigt vassa målarkanter är att måla först
"täck" kanten av tejpen med basfärgen och när den har torkat,
måla över med topplack. Tänk på att dra av tejpen när du målar
det är fortfarande blött!! Använd även i detta fall en högre kvalitet
papperstejp.
Slutresultatet blir genast mer professionellt, och det gör du
för att göra min granne Kalevi avundsjuk på elegansen i målningsarbetet.
Om Målningsarbetet fortsätter nästa dag kan du förvara blött
verktyg i en väl försluten plastpåse vid tillfället. När
när det är dags att tvätta "pressar" vi t ex en träpinne från rullen
överflödig färg tillbaka i färgburken och torkas med en pensel
i skyddspapper eller tidning, så att det inte läggs i onödan
måla ner i avloppet.
Målarverktyg roteras, skakas, torkas och
trycks torr igen och låts lufttorka,
helst i hängande läge med hårstrån nere och rullhår
fluffig. Det är därför det är trevligt att använda dem i nästa
på en gång när inspirationen slår till!
Din målare önskar dig trevliga målarstunder
jag är
TintedRestore
Ps. Följ @savykasrestore på IG , därifrån
kan få fler användbara instruktioner. Åtminstone några bilder
design- och målningsarbeten utförda åt kunder.