


Så lyckas du med målning av IKEA-möbler – 3 tips
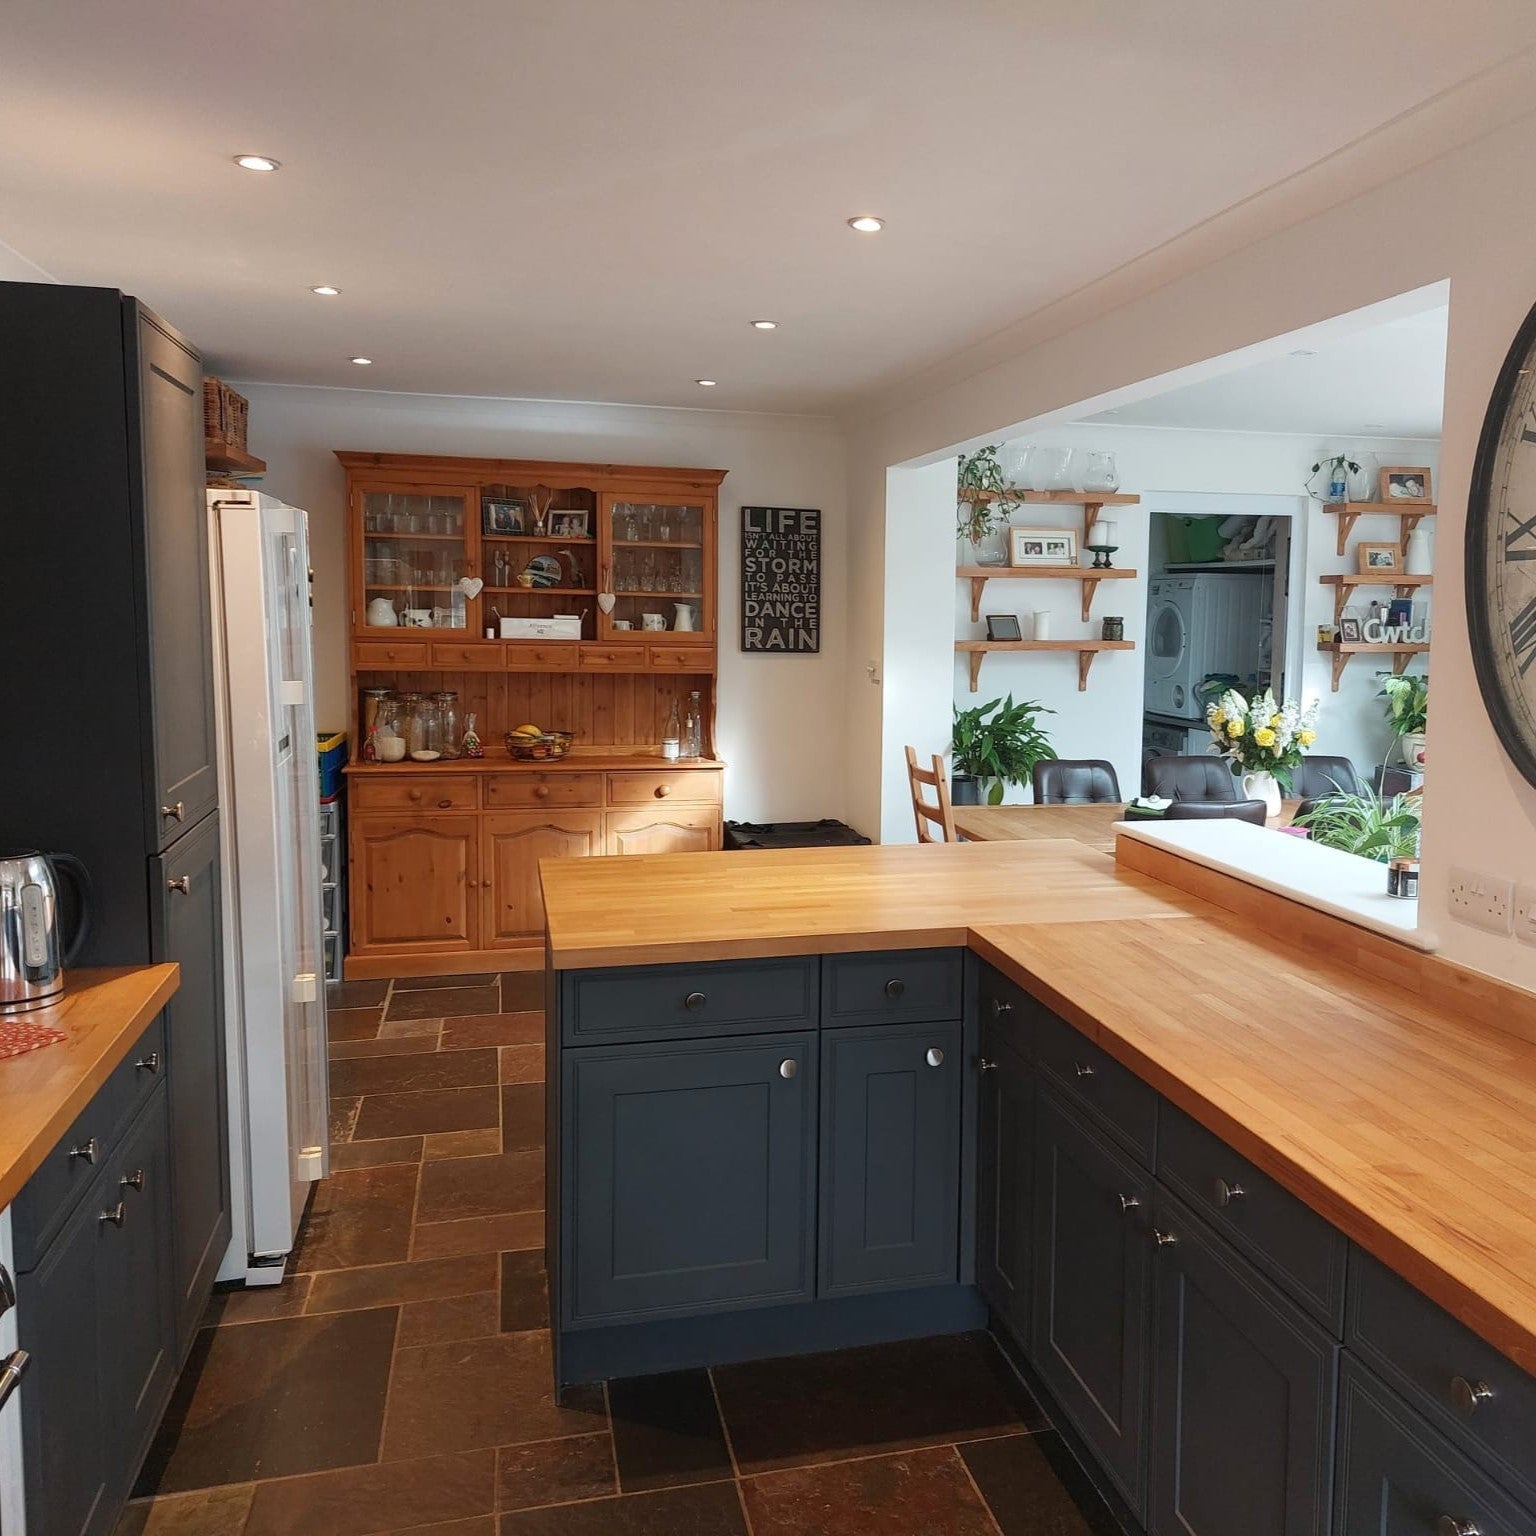
Att måla IKEA-möbler och andra möbler är ett enkelt sätt att ge hemmet personlighet.
Oavsett om du letar efter den perfekta färgnyansen, en iögonfallande blickfångare eller vill förnya en gammal möbel, gör lite målning underverk för din gamla möbel. Du kan välja färg till din möbelmålning från vilken Frenchic-serie som helst!

Innan du tar penseln, bekanta dig med dessa tips för att få ett professionellt resultat
1. Noggrann förberedelse garanterar framgång
Betydelsen av förberedelse kan inte överdrivas. Även om IKEA-möbeln ofta ser fin ut direkt ur paketet, är ytan vanligtvis slät och till och med lite vaxartad, vilket gör att färgen inte fäster utan ordentlig förberedelse. Utan rengöring och slipning kan färgskiktet lätt flagna och lossna.
Börja med att rengöra möbeln noggrant.
Frenchic Sugar Soap -rengöringsmedel passar utmärkt för detta, eftersom det effektivt tar bort damm, fett och fingeravtryck. Även om möbeln är ny är rengöring ett viktigt steg.
När möbeln är torr, slipa ytan lätt med sandpapper kornstorlek 120. Syftet är inte att ta bort den gamla ytan utan att skapa en strävhet som färgen fäster bättre på. Undvik därför överdriven slipning. Avsluta med att ta bort damm med en fuktig trasa.

2. Mindre är mer – tunna och "vanliga" färglager
När du målar är det bra att först testa både färg och verktyg för att få känsla för dina arbetsredskap och uppnå ett resultat du trivs med.
Frenchic-färger behöver inte spädas. För tunna färglager torkar för snabbt och för tjocka torkar långsamt. Mindre är mer. Ett för tjockt färglager kan orsaka droppar, ränder och synliga penseldrag. Bättre resultat uppnås med vanliga, något tunnare och jämna färglager.
Även om tunnare lager kräver flera appliceringar belönas du med en slät och välavslutad yta.

3. Slipa lätt mellan färglagren
En perfekt slät och felfri yta uppnås genom att slipa mellan färglagren. Använd ett fint sandpapper, till exempel kornstorlek 240, och slipa ytan lätt för hand. Detta tar bort eventuella ojämnheter och skapar en bra fästyta för nästa färglager.
Kom ihåg att återigen ta bort damm med en fuktig trasa innan nästa färglager (först när det föregående lagret är helt torrt).
Även om detta steg kan kännas som extra arbete påverkar det slutresultatet avsevärt.

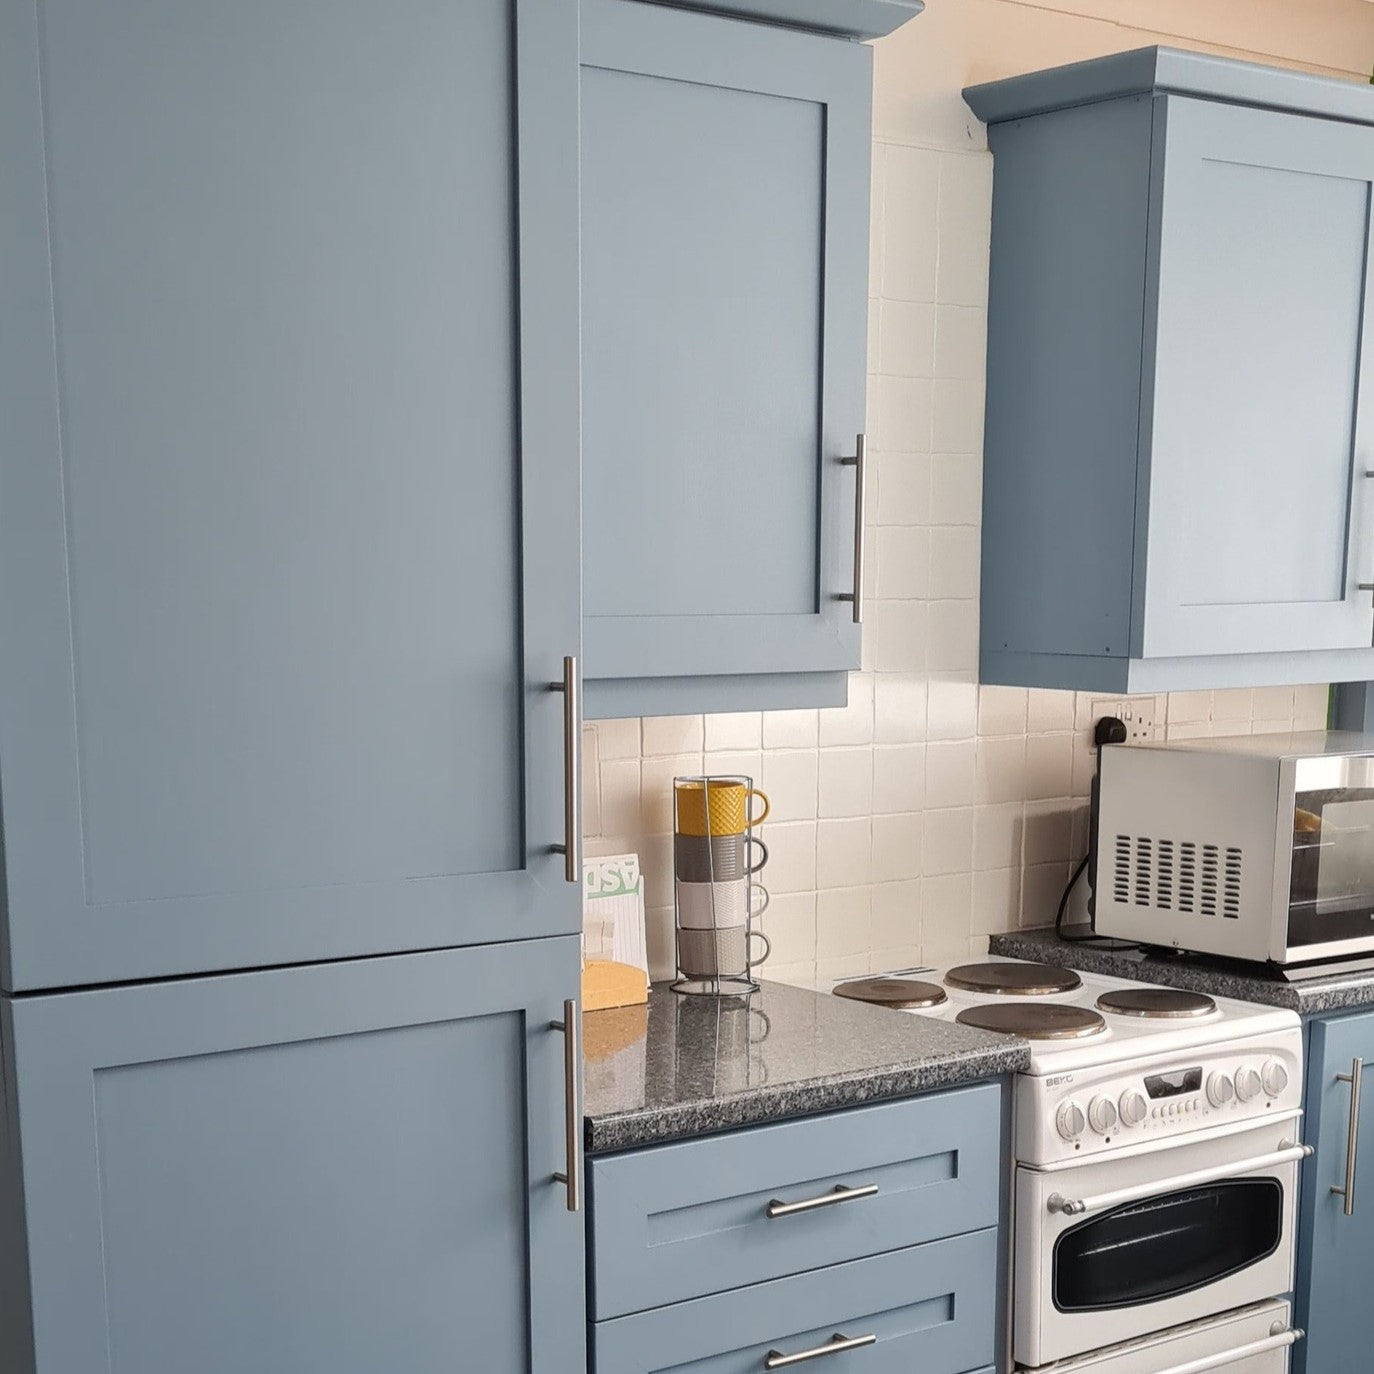
Med dessa tre tips lyckas du måla IKEA-möbler till snygga och personliga inredningselement.
Läs mer här om målning av laminatmöbler.
Kom ihåg: noggrann förberedelse, tunna färglager och lätt slipning mellan lagren.
Resultatet är värt mödan och ger dina gamla möbler ett nytt liv!