Stilen är fri – så här lyckas du med Frenchic Paint-seriens färger!
När du vill måla om dina möbler eller göra en ytrenovering hemma, underskatta inte betydelsen av rätt färgval för slutresultatet – eller valet av målningsstil.
Vi vill hjälpa dig att komma igång enkelt.
Här kan du plocka de bästa råden och tipsen för ditt eget målningsprojekt. Till sist har vi samlat en minneslista över vad du minst behöver för att komma igång.
Det finns otaliga måleritekniker och stilar att välja mellan, som du enkelt kan använda och anpassa själv för att måla nya eller gamla möbler och skapa fantastiska stilförändringar, precis som i inredningsbloggar!
"Du kommer säkert att bli förvånad över hur enkelt det är att förnya och uppdatera gamla möbler till moderna med Frenchic Paint-seriens färger med liten ansträngning och ofta för en bråkdel av kostnaden för att köpa nya möbler eller göra en renovering!"
"Återanvänd dina gamla, men hela och stadiga möbler på hedersplats i ditt hem – det är inte alltid nödvändigt att köpa nytt."
"Se här olika tekniker och tips för möbelmålning som hjälper dig skapa en unik, personlig och helt enkelt fantastisk ny look för dina möbler som passar vilken inredningsstil som helst."
"Läs också här våra kunders erfarenheter och feedback om Frenchic-serien."
"Välj en stil som passar dig och ditt hem och bli inspirerad av återbruk, återanvändning av gamla möbler och gör-det-själv tillsammans med den mycket populära Frenchic-serien!"
"Välj först din stil!"
"Perfekt, slät matt yta"
"Dagens trend är att måla möbler enfärgade, med en perfekt felfri matt yta."
"Ta ett steg vidare från denna stil och tillsätt en antydan av guld eller koppar på den mattsvarta ytan, det gör möbeln genast lite mer elegant och tidlös."
"Frenchic Paint-seriens färger har en helt ny egenskap som gör att ytan lätt blir slät och jämn. 'Self Levelling'-egenskapen jämnar ut ytan som av sig själv och det blir lite eller inga penseldrag kvar."
"Gör en testmålning och prova färgen och verktygen"
"Om Frenchic Paint-seriens färger inte är bekanta för dig ännu, gör några testmålningar innan ett större projekt, så får du en känsla för hur slutresultatet blir med just dina målningsverktyg och teknik."
"En slät yta får du också genom att doppa penseln, bara lite, i vatten under målningen eller med så kallad sprayflaskteknik. Läs mer om denna teknik i Frenchic-guiden."

"Väggmålning och den populära 'Colour Block'-stilen"
"Du kan också använda Frenchic-kalkfärger för att måla väggar!"
"Skapa ett enkelt och trendigt 'Colour Block'-färgområde med vilken Frenchic Paint -nyans som helst. Till denna stil behöver du inte mycket färg."
"Många 'Colour Block' har faktiskt uppstått av färgrester från målning av möbler!"
"'Colour Block' är ett färgat område målat på väggen eller taket: cirkel, rektangel, kvadrat, rand eller båge."
Denna roliga teknik är lätt att genomföra och ger en helt ny känsla till rummet, ramar in eller fungerar som bakgrund för en hallvägg, spegel eller dubbelsäng i sovrummet.
"Colour Block" är nu inne i inredningsmålning och du kan se dem i inredningsinfluencers bilder på Instagram.
Även Frenchic-fans har blivit inspirerade av stilen och du kan se deras bilder och videor i Frenchic-grupper och våra sociala kanaler.

På bilden är en gammal tallbyrå målad i olika Frenchic-nyanser, mönstret är gjort med tejp för avgränsningar.
Byrån har fått nya handtag som passar temat och trädelen är finslipad med Frenchic-vaxer.
På väggen är det målat en rolig "Colour Block". Från denna byrå kan du se "före och efter"-bilder i vår FB-grupp. Målningsarbetet utfördes av Kerry Morgan.
Metallfärger – finslipa detaljerna
Glöm gammaldags, giftiga och illa luktande metallfärger och upptäck Frenchic Paint-seriens metallpigment.
Fullständigt doftfria färgpigment är roliga att använda.
Prova och bli förtjust i deras mångsidighet i all slags inredningsmålning och olika DIY-projekt.
Frensheen-seriens guld-, brons-, koppar- och silverpigmentfärger kan du använda på alla möbler, accenter och inredningsföremål – till exempel på en dekorativ spegelram.
Gillar du att pimpa olika ytor och möbler hemma?
Måla den gamla hänglampans kupa utvändigt med matt svart Blackjack-nyans och behandla lampkupan invändigt med en fantastisk koppar- eller guldnyans!
Så här gjorde du själv en fantastisk lampa, precis som från en designbutik, men till en liten peng.
Om du till exempel inte vill köpa nya handtag till din möbel kan du förnya handtagen med stiliga guld- eller kopparfärger.
Frensheens metallpigment blandas tillsammans med Finishing Coat, så nyansen blir direkt hållbar.
Du hittar flera teknikvideor i vår FB-grupp om hur du enkelt blandar giftfria metallfärger.
Kika här hur en fåtölj målad i bronsfärg ser ut!

Metallfärger används för att skapa effektfulla dekorationsmålningar, schablonmönster eller kanter på möbler, insidor och sidor av lådor eller under krackelering.
Om du vill prova en riktigt modig kombination, testa grön metallfärg tillsammans med starka, klara nyanser.
Du kan kombinera Frenchic-seriens metallfärger och skapa egna nyanser av antikguld eller roséguld.
Måla en hel möbel i metallfärg – vad sägs om en byrå helt i champagnefärg?
Kombinera då guld- och silverpulver.
FrenSheen-pigment är roliga att använda, du kan kombinera dem med vax för att skapa levande ytor, patina och textur.
Var modig och kreativ – prova och bli säkert inspirerad!
Kika på fler idéer i vår FB-grupp!

Klara färger piggar upp och ger gott humör
Ibland behövs en färgklick i inredningen för att tillföra värme och intresse. "Statement Pieces" – de iögonfallande, personligt färgade möblerna är tillbaka i inredningen.
Välj en nyans som du själv tycker om
Du kan ta färginspiration från en matta, tapet eller kudde.
Ett bra tips är att välja en nyans som inte är i huvudrollen utan bara finns lite. En pastellfärgad möbel ser fin ut i modern inredning, men passar också i boho-stil eller lantligt romantiskt hem.
Om du gillar dämpade, pudriga nyanser kommer du säkert att tycka om dessa färger:
Nougat, Dusky Blush, Duckling och Wise Old Sage. Det är lätt att jämföra färger här, du kan hitta din nya favoritnyans!

Byrån på bilden är målad i nyansen "Kiss Me Sloely" från Al Fresco-serien.
Du kan måla en färgklick i ditt hem, liten eller stor
Prova en stol, byrå eller låda i en färg som skiljer sig från din övriga inredning, med klara och starka nyanser som medelhavs- eller mexikanska stilar (prova rosa, blå, gula, gröna och röda), som gör dina möbler fantastiska och personliga.
Om du älskar starka färger
Kolla åtminstone in dessa: blå 'Kiss Me Sloely', vinröd 'Plum Pudding', grön 'Victory Lane', petrol 'Steel Teal', bläckblå 'After Midnight' och röd 'Flamenco'.

Byrån på bilden är målad med 'Flamenco'-färgen från Original Artisan-serien.
Från mörkt till vitt – går det?
Det går bra. Och det tipset!
Måla det första lagret med en grå nyans om din nya färg skiljer sig mycket från grundfärgen.
Den grå nyansen tonar ner rödheten och den mörka tonen och du kan använda färre vita lager.
Du kan välja en mellangrå nyans från Al Fresco-serien, till exempel City Slicker eller Swankypants.
Ofta räcker den lilla burken med grå färg till en möbel och sedan kan du använda färre lager, till exempel med vita lager.
Grått är en bra grundfärg från vilken som helst serie för att tona ner den rödaktiga träfärgen.
Valde du vit färg?
Den vita pigmenten bör blandas noggrant i färgburken före målning och under målningsprojektet, noggrann omrörning påverkar täckningen.
Låt också färglagren torka enligt anvisningarna i 1-2 timmar beroende på vilken målarserie du använder – torktiden påverkar också täckningen.
I Frenchic Paint-serien finns många fantastiska vita att välja mellan!
Upptäck den skimrande rena vita Dazzle Me!-färgen, den mjuka Wedding Cake-färgen eller det pappervita Virgin-färgen.

Byrån på bilden är målad med Wedding Cake-färgen från Lazy Range-serien.

Lämna en del av möbeln i träytan
Kombinationen av träyta och målad yta fungerar alltid.
Med denna teknik går det förstås åt mindre färg, men resultatet är ändå varmt och hemtrevligt.
När du förbereder möbeln för målning: rengör ytorna och slipa dem, då kan du se hur träytan ser ut när den är ren och slipad.
Ibland avslöjas en riktigt vacker träyta under det gamla färgskiktet, att låta den synas lyfter möbeln till en helt ny nivå!

På bilden är bara en del av benen på det lilla bordet målat med den neutrala nyansen 'Salt of The Earth'.
Den övriga delen av ytan är vaxad med brunt Frenchic-vax. Mönstret är en dekal, som du kan se här.
Med vax kan du återuppliva träytor vackert och samtidigt vårda ytan. Frenchic-vaxerna är naturliga vaxer, de är bivaxbaserade och certifierade, utan lösningsmedel.
Lär dig använda vax
Prova vaxerna, dessa tekniker tar dig med storm!
Av olika slitagetekniker är detta den enklaste:
Börja med att förbereda träytan. Rengör den med Sugar Soap, rugga ytan lätt vid behov och torka ytan ren och torr. Måla det första lagret färg och låt torka helt.
Sedan tricket:
lägg till klart möbelvax på de ställen du vill ska se slitna ut, som hörn, kanter, handtag). Vaxet stöter bort det nya färglagret från dessa områden och ger en sliten effekt.
Applicera nu ett andra lager i en annan nyans på möbeln, även över de vaxade områdena. Låt torka. Torka möbeln med en mjuk, luddfri trasa, färgen tas lätt bort från vaxet.

Om du vill lägga till mer slitage kan du använda stålull eller slipsvamp lätt för att ta bort färgskikt.
Vaxa möbeln helt till sist - på så sätt skyddar du även slitna partier och ytan blir hållbar.
Så här gjorde du själv ett fantastiskt möbelstycke - som nyinköpt från en inredningsbutik!
Välj alltid ett giftfritt naturligt vax för vaxning, som de mjukt applicerande möbelvaxerna från Frenchic Paint-serien.
Lär dig mer om användning av vax i möbelmålning här.
Schabloner - fantastiska kakelmönster är nu IN inom inrednings- och möbelmålning
Schablonmålning är nu supertrendigt. Du kan mönstra med schablon på väggar, golv, möbler... Det går snabbt och kräver inte mycket färg.
Du kan välja bland många olika motiv för ditt projekt, det finns gott om valmöjligheter.
Du kan göra lite mönstring också, överraskningsmoment är alltid roliga
Du kan enkelt göra detta på din egen möbel: måla vackra schablonmönster på lådornas ytterkanter. Då syns mönstren varje gång du öppnar lådorna.
Samma trick kan du använda: måla ett vackert mönster inuti en låda, på insidan av byrådörrarna eller bara längst ner på ramen runt möbeln.
Dessa tips kan du också använda på möbler som du inte vill måla helt - en liten 'update' och din möbel ger en ny atmosfär till rummet!

Största delen av schablonen är gjord av tunn plastfilm som lätt formar sig efter möbelns former vid målning.
Så här gör du:
Förbered möbeln eller ytan som ska målas, placera schablonen där du vill och måla. Du kan dutta med en schablonpensel eller använda en smal roller. Du hittar många olika exempel och teknikinstruktionsvideor om schablonmålning i vår FB-grupp.
Tejpa för att hålla schablonen på plats och mät för att justera schablonen till mitten av möbeln eller ytan. Börja från mitten om mönstret inte passar exakt på ytan - du kan avsluta med kanterna och klippa schablonen i halvor för att underlätta mönstringen vid kanterna. Ibland kan det vara bra att använda två likadana schabloner för att snabba upp arbetet.
Testa och prova innan ett större projekt
Använd färgen sparsamt tills du får känsla för hur mönstret formas. Prova först schablonen på någon yta om du inte har gjort schablonmålning tidigare.
Samtidigt lär du dig hur de verktyg du valt fungerar och vilket resultat de ger. Ett roligt och snabbt sätt är att göra mönster med en liten roller och flera nyanser samtidigt! Så får du enkelt en vacker och naturlig övergång i mönstringen.
Håll din schablon ren under hela projektet
Tvätta schablonen och verktygen ofta på större ytor; med en ren schablon blir mönstret vackert och exakt.
Verktyg: penslar, svampar och rollers bör alltid tvättas innan du börjar.
Torka dem till fuktiga, vattnet får inte tränga in under schablonarket när du arbetar med mönstret. Öva först. Kolla in fantastiska schablonmålningar och användbara projektbilder i 'Frenchic Paint Finland'-gruppen.
Tips: börja med en liten mängd färg på penseln eller rollern för att få skarpa och tydliga mönster
En blekt yta och färgsköljning låter träets ådring synas - en populär 'White Wash'-teknik
En blekt yta eller färgsköljning med utspädd färg är roliga möbelmålningsmetoder - ytan ser ut som om den har blekts av solen eller vatten över åren. Dessa möbelmålningsmetoder kräver inte mycket färg och passar perfekt för nybörjare inom möbelmålning!
Faded yta med två olika nyanser:
Börja med att måla grundfärgen (helst en mörk nyans). Ytan behöver inte vara perfekt. Låt färgen torka helt.
Måla sedan nästa lager med en ljusare nyans, täck möbeln helt igen. Målningsmetoden kan vara 'hit och dit'-stil, så länge möbeln täcks av färg – ytan behöver inte vara fin.
Du kan börja torka bort färgen redan innan den börjar torka på möbeln. Torka bort så mycket du vill, här och där – beroende på hur mörkt eller ljust slutresultatet ska bli. Upprepa för att uppnå önskat resultat. Titta på möbeln från avstånd och från olika vinklar då och då.
Du kan även lägga till 'Dry Brush - 'Torrborstning'-tekniken här för att få mer ljushet och olika effekter på ytan. Avsluta möbelns yta med vax om du har använt Original-seriens nyanser.
Hoppas du blev inspirerad av dessa möbelmålningsidéer!
Checklista – detta behöver du åtminstone när du börjar måla möbler eller vägg:
-
Rengöringsmedel som effektivt tar bort smuts och fett. Sugar Soap är Frenchic-seriens effektiva möbelrengöringsmedel, avsett för rengöring av möbler och andra ytor som ska målas innan målning. Även väggen bör torkas ren och torkas innan målning.
-
Högkvalitativ pensel eller roller. Här bör du inte snåla. Läs tips för att välja rätt pensel här.
-
Slip- eller ruggningsmaterial. Beroende på din möbel och teknik behöver du sandpapper, en praktisk slip-svamp eller en elektrisk apparat för att rugga/slipa möbelns yta.
-
Färg. Välj en högkvalitativ möbelfärg, som Frenchic-seriens färger. Om du inte har provat Frenchic-serien tidigare, börja med den prisbelönta Lazy Range-serien.
-
Även alla andra Frenchic-maalisarjat passar för målning av möbler eller väggar. För målning av kakel passar Al Fresco och för målning av golv väggfärg Chalk Wall Paint.
-
Du kan också behöva vax, schablon, slutbehandling, metallpigment eller krackeleringsmedel beroende på vilken målningsmetod du tänkt använda.
-
Kom också ihåg kvalitetstejp om du gör maskeringar
Must have - tips
Tips! Om du är en ivrig hantverkare eller målare och gör många olika DIY-projekt, så är två Frenchic-produkter - "must have"- pålitliga produkter för DIY-människor som alltid bör finnas i din målarhylla när skaparlusten slår till: Frenchic-vaha och Finishing Coat. Dessa mångsidiga Frenchic-produkter passar bra för olika hemmaprojekt. Och självklart vit och svart färg som du kan använda till egna färgblandningar, till exempel ren vit Wedding Cake och svart Loof.
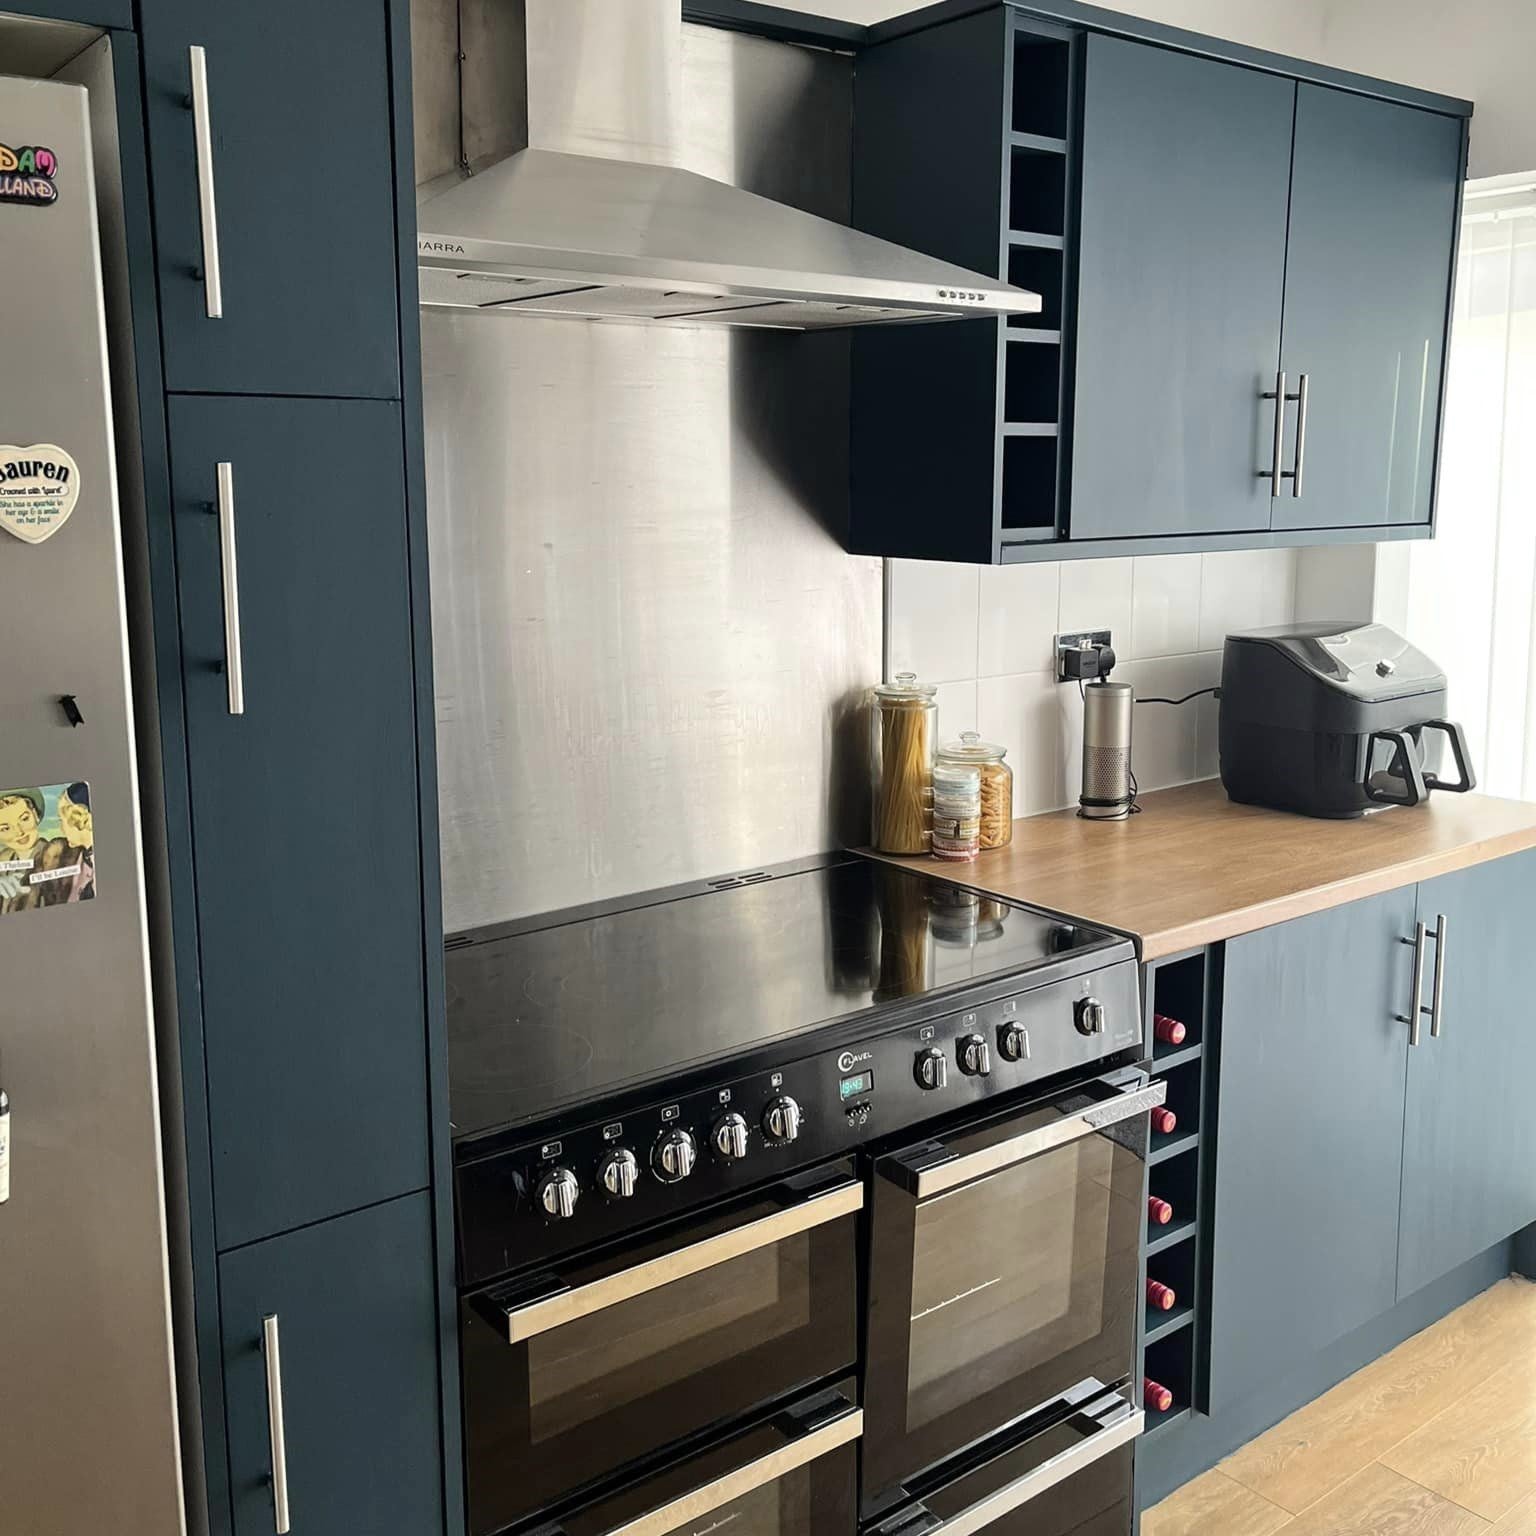
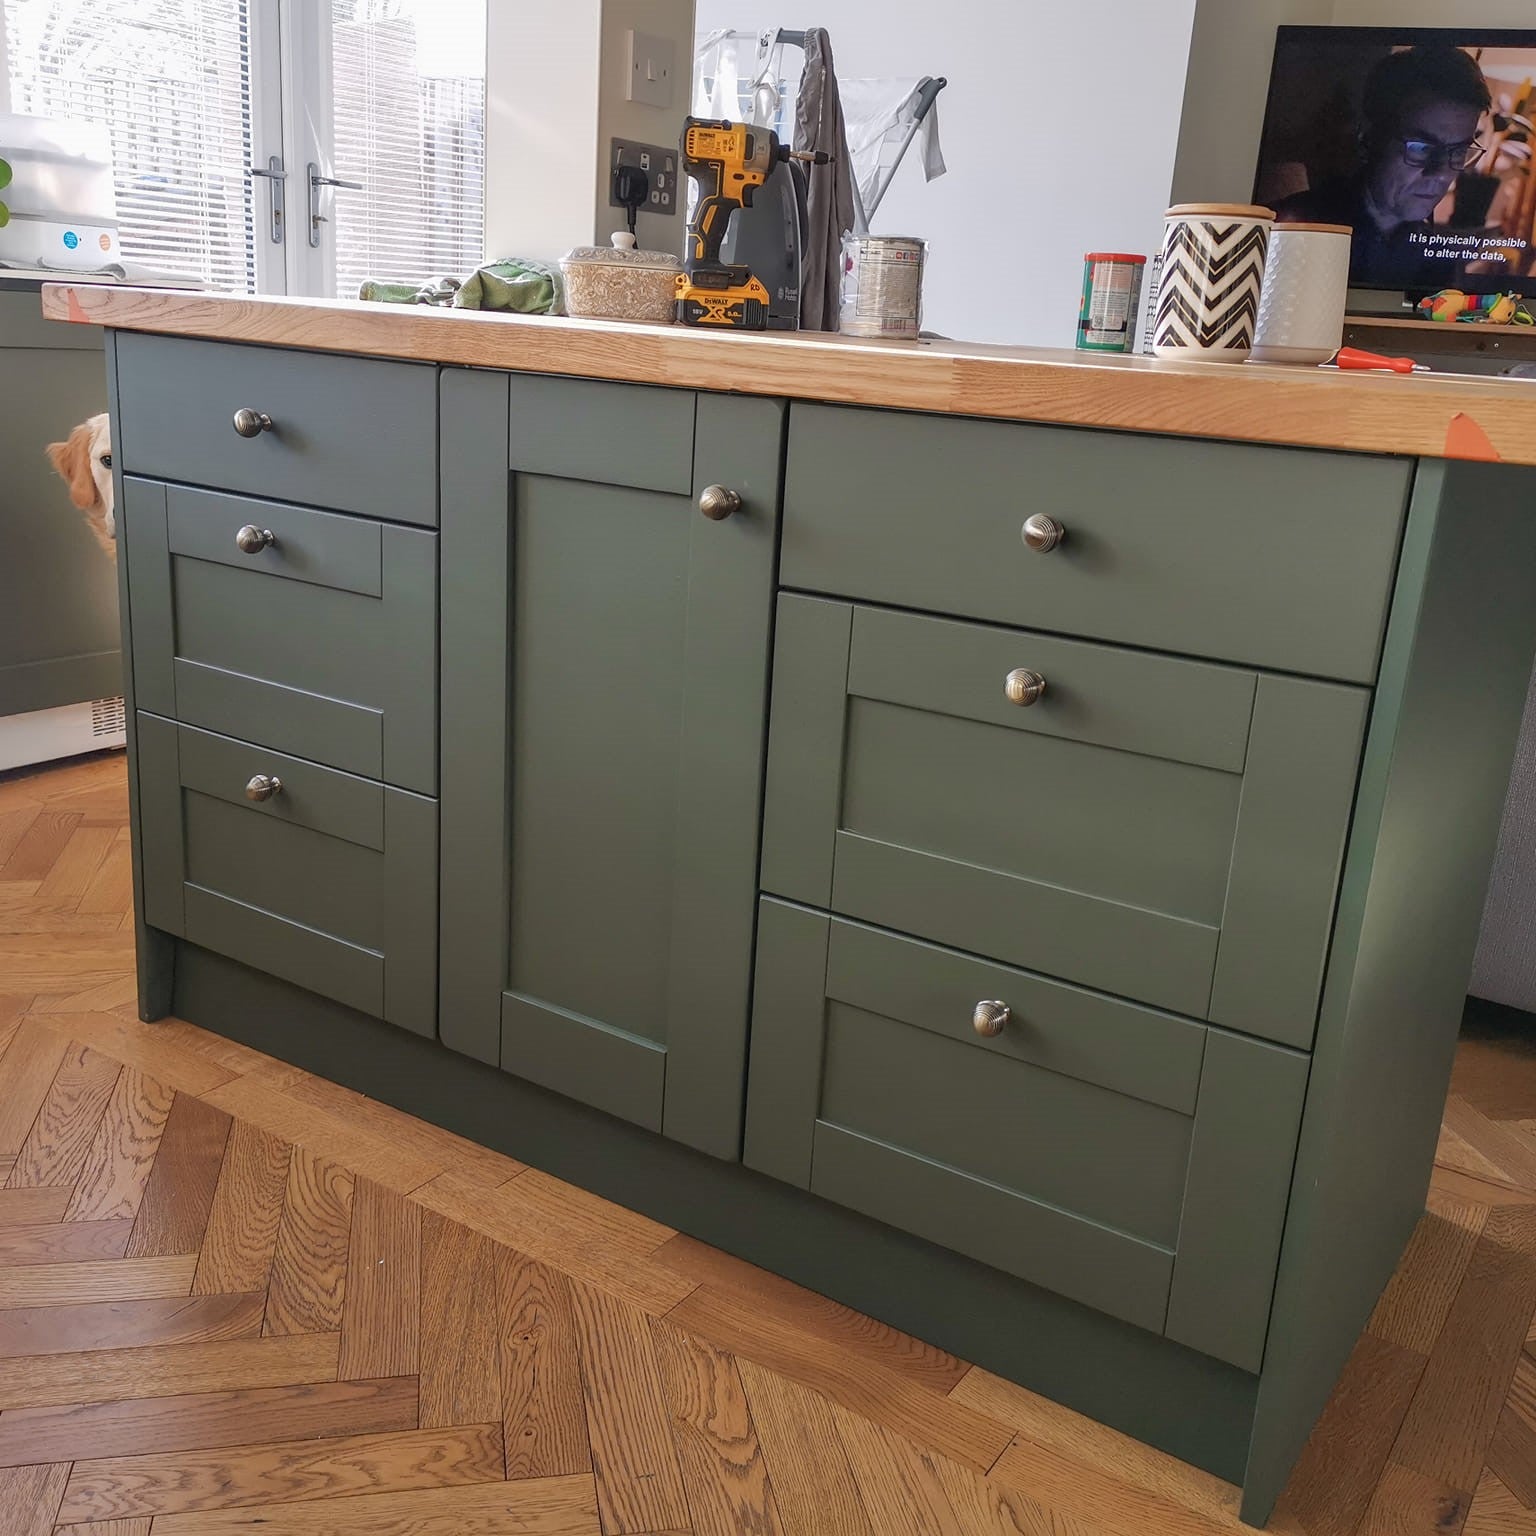
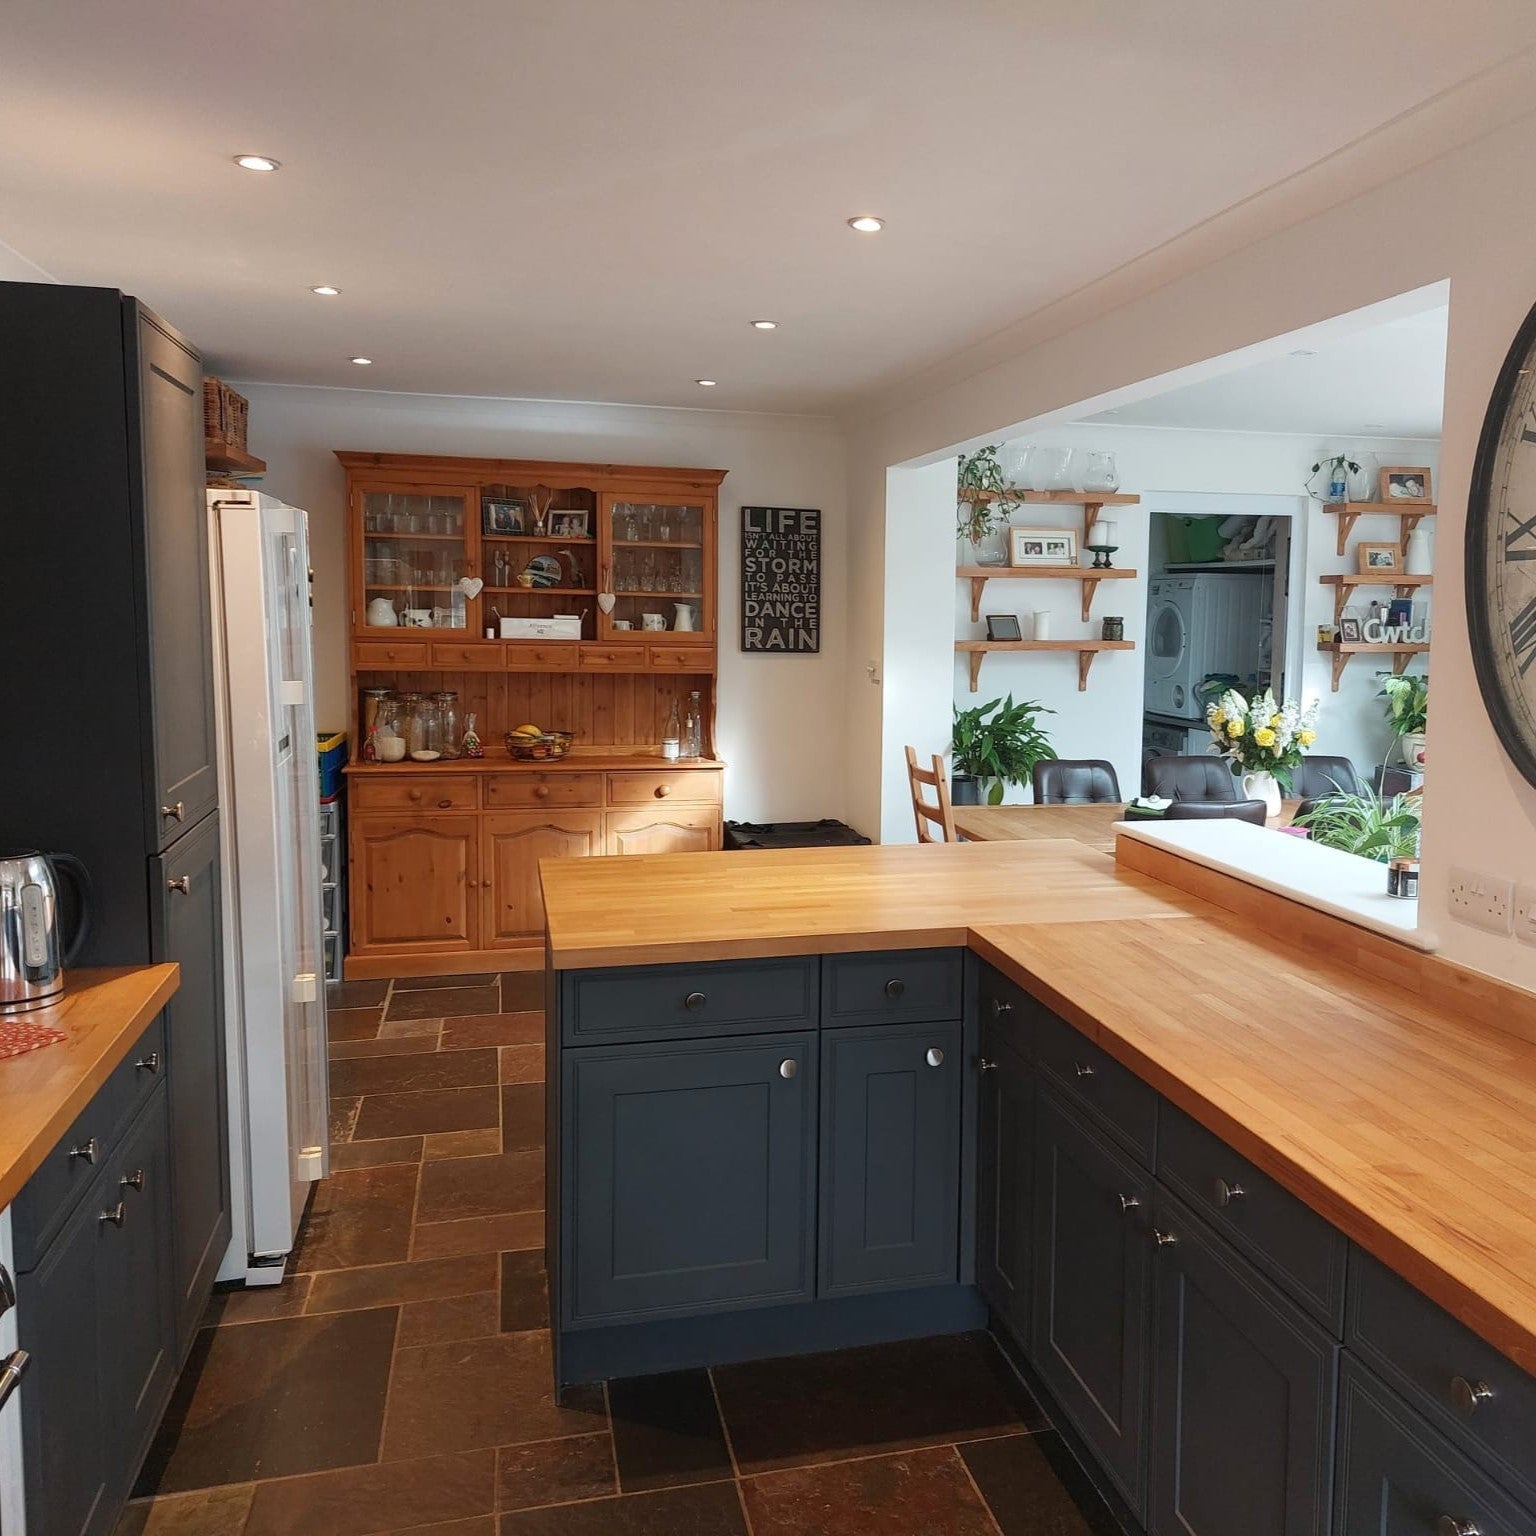
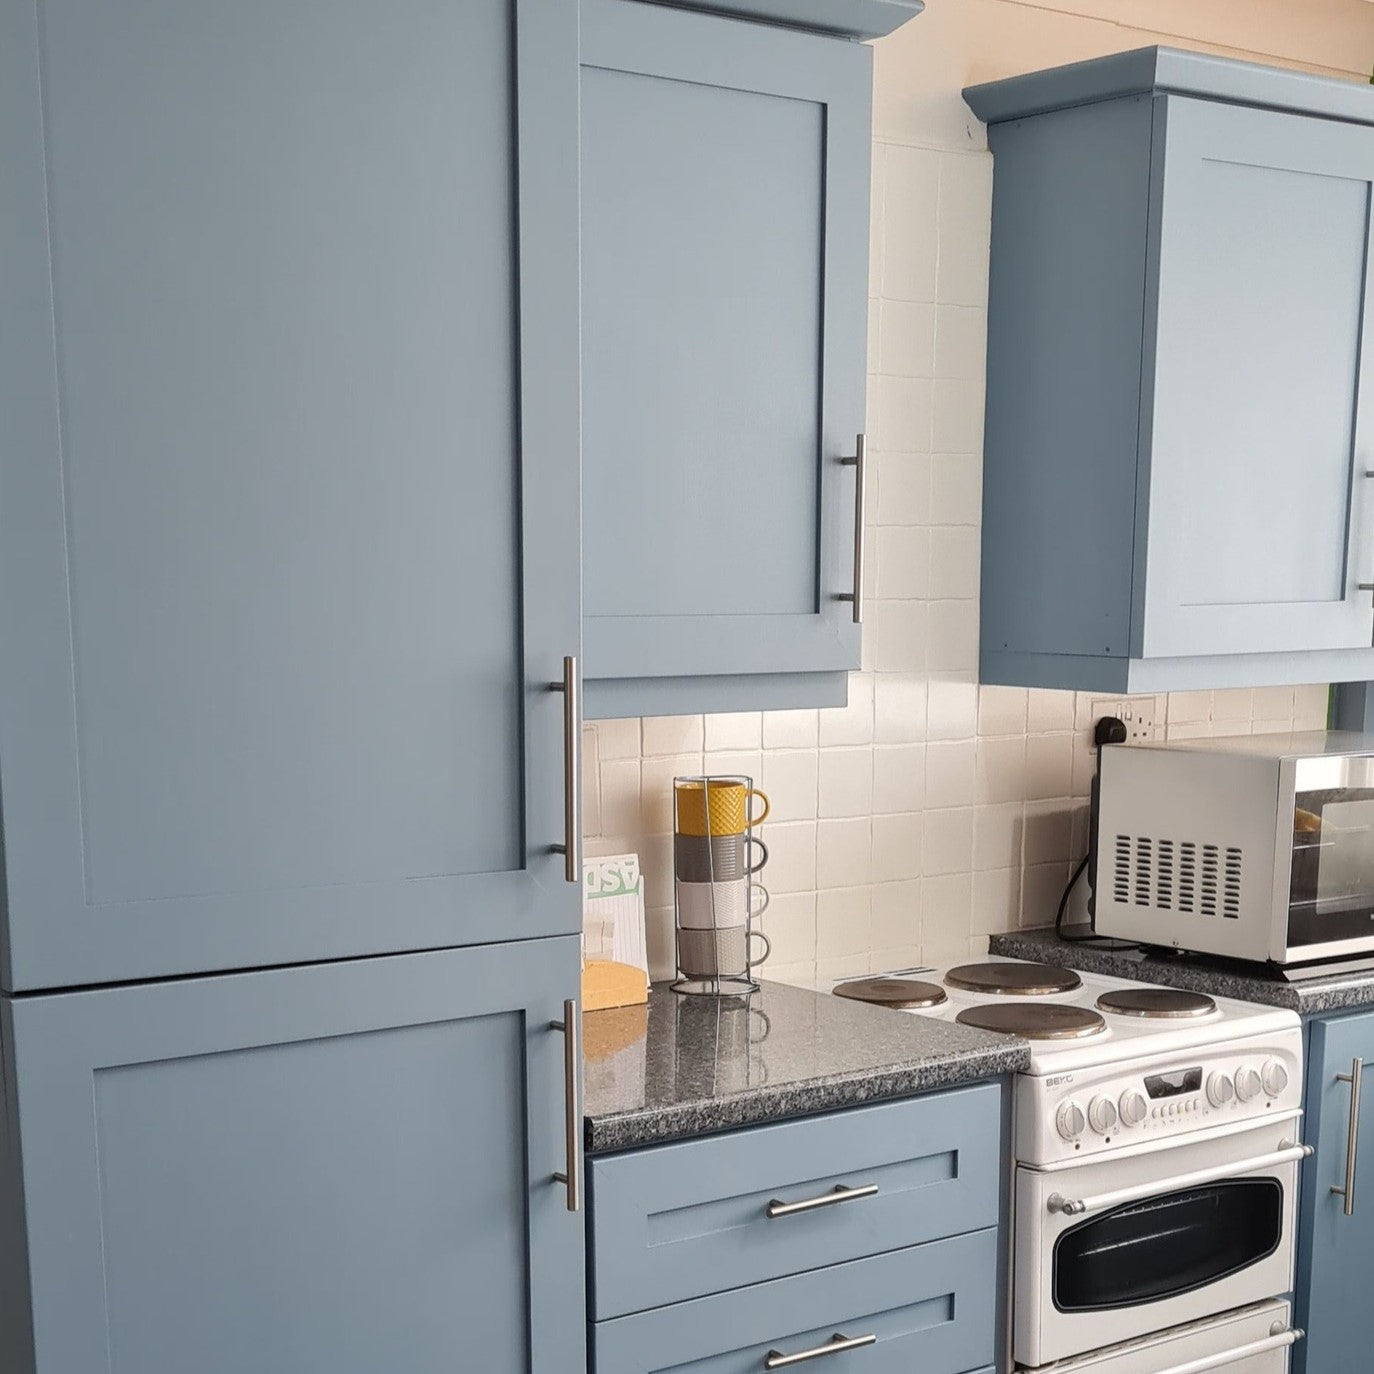
Utforska Frenchic-serien och beundra våra kunders projektbilder i vår FB-grupp! Vi har samlat för dig inspirerande bilder i vår FB-grupp lätt att hitta under sökord som: kök, väggfärg, färgblandningar m.m.
Den prisbelönta och säkra Frenchic Paint-serien erbjuder dig mångsidiga och lösningsmedelsfria produkter för målning av möbler och alla slags ytor i hemmet. Du väljer bara nyansen du vill börja med!
Om du är nybörjare på möbelmålning, läs mer från andra bloggar; du kan hitta de bästa tipsen till exempel i den här artikeln.
Frenchic Paint är aktivt på sociala medier: du hittar oss på Instagram, Facebook, TikTok, Pinterest och YouTube...

