Paradise - Paint Inlay

Paradise - Paint Inlay

IOD Paint Inlays sheets are handmade from genuine paint.

They are not stickers, they are not synthetic film, they are not decoupage.

With this technique, you get anything but smooth and even, perfect reproduction - and that's the secret of the popularity of Paint Inlay sheets!

The pattern is transferred from the Paint Inlay sheet to the wet paint, each transfer is always unique.

You can use one sheet 2-4 times, each time the pattern repeats more worn and the end result is wonderful, textured patterns.

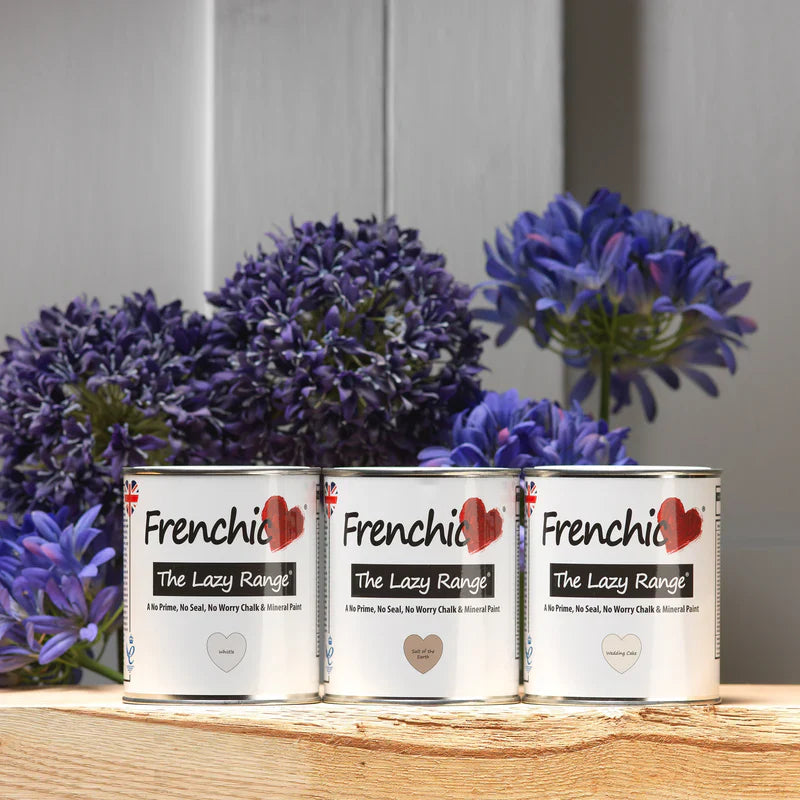
We recommend Original Artisan or Lazy Range paints for paint.

Paint Inlays are made to work together with traditional chalk paints.

It is also possible to use other paints, but the working time varies. If you choose another brand or series as the paint, first try how the pattern transfers before a larger project.

When you use IOD Paint Inlay, the pattern paint is physically embedded into the surface of the project.

After drying, the paper is removed, leaving the object/surface with an authentic painted pattern and a textured, almost leather-like surface.

IOD Paint Inlays are made from artist-quality paints that have been specially developed for decorative use.

Organic in nature, Paint Inlays transfer the painted pattern, giving a slightly varied and unique beautiful aesthetic each time they are used.

The results are visually interesting, structurally complex.

The paint is "active" until it is finished with a coating.

This means you can manipulate it and apply special techniques or a custom touch before you seal your piece - so you can still brush on the designs yourself!

The pattern paint is active to water until it is sealed.

Also read the Work instructions and pattern protection tabs below.

The package contains instructions in English.


Work instructions Paint Inlany

How do I use IOD Paint Inlays sheets?

Step 1: Plan the layout of your designs for the surface.

Step 2: Using the grids on the back of the inlay sheet, cut as needed and set aside. If you are using a repeating pattern and are lining up the pattern continuously, trim the extra margin from each sheet.

Step 3: Apply a generous and even layer of mineral-based lime paint to the properly prepared surface. Work in small sections, usually no more than 30x30cm/or sheet size, so you can control the drying window of the paint as you work.

Step 4: While the paint is still wet, place the sheet pattern side down (with grids printed on the back to make it easy to tell the front and back apart) on the wet paint and smooth it out, but avoid moving the sheet in the wet paint.

Step 5: Lightly spray with a steady mist of water to wet the sheet. Use a smooth damp sponge, a soft folded cloth or a small IOD Silicone Paint Blade and dab with even light pressure to make good contact with the painted surface. Avoid excessive movement or dragging of the Paint Inlay after it has been placed, as this may cause blurring or smudging.

Step 6: Repeat steps 3-5 to complete the pattern and line up the sections as needed. If necessary, the raster lines help to match the edges of the pattern together.

Step 7: Allow the Inlay pattern to dry. The drying time can vary from 10 minutes to an hour depending on the conditions. Paper sprayed wet turns lighter when it dries.

Step 8: When you are ready to remove the Paint Inlays from the surface, spray evenly with water again and allow to absorb for 30 seconds; this helps the pattern to come off. Gently pull the paper upwards starting at one corner and holding it at a low angle. It should come off easily without tearing. If not, spray again, wait a moment, then try again.

Step 9: You can fade or soften the pattern with water if you want, because the pigment is still mobile and active. You can even add additional colors.

Step 10: When you are satisfied with the Paint Inlay design, allow the project to dry completely. The drying time varies depending on the thickness of the paint layers, the amount of water used in the process, room temperature and weather conditions. If the surface feels cold, it is not completely dry. To be safe, wait 24 hours.

Step 11: Now it's time to finish the surface with a coating.

Paint Inlay pattern protection

There are a few different options for finishing:

Spray your desired water-based sealant with a spray gun designed for paints and surface treatment agents, add e.g. Finishing Coat from the spray bottle.


Lightly brush a water-based polyurethane-type sealer, varnish or epoxy directly onto the work. This method is likely to result in some degree of pigment transfer; this is minimized by avoiding overprocessing.


Create a "mistable" setting spray using a 50/50 mix of water and your favorite water-based sealer. Apply with a fine atomizer. Allow it to dry completely and then apply a brush-on sealer.


Align your work first with a commercially available spray-on sealer or artist's fixative. Let it dry completely and apply your desired finish.
You can also use wax to seal your piece. Apply according to the manufacturer's instructions and buff to a shine as usual.


Some oil-based finishes can be applied directly with a brush to the surface without reactivation. Test on a small area before applying. Note that most oil-based finishes tend to turn amber over time, and this is most noticeable on lighter colors.


IMPORTANT NOTE: Always check sealant/finish product compatibility when using more than one product.

We are also written about in newspapers:

Search for products, blog posts, etc.

Paradise - Paint Inlay

IOD Paint Inlays sheets are handmade from genuine paint.

They are not stickers, they are not synthetic film, they are not decoupage.

With this technique, you get anything but smooth and even, perfect reproduction - and that's the secret of the popularity of Paint Inlay sheets!

The pattern is transferred from the Paint Inlay sheet to the wet paint, each transfer is always unique.

You can use one sheet 2-4 times, each time the pattern repeats more worn and the end result is wonderful, textured patterns.

We recommend Original Artisan or Lazy Range paints for paint.

Paint Inlays are made to work together with traditional chalk paints.

It is also possible to use other paints, but the working time varies. If you choose another brand or series as the paint, first try how the pattern transfers before a larger project.

When you use IOD Paint Inlay, the pattern paint is physically embedded into the surface of the project.

After drying, the paper is removed, leaving the object/surface with an authentic painted pattern and a textured, almost leather-like surface.

IOD Paint Inlays are made from artist-quality paints that have been specially developed for decorative use.

Organic in nature, Paint Inlays transfer the painted pattern, giving a slightly varied and unique beautiful aesthetic each time they are used.

The results are visually interesting, structurally complex.

The paint is "active" until it is finished with a coating.

This means you can manipulate it and apply special techniques or a custom touch before you seal your piece - so you can still brush on the designs yourself!

The pattern paint is active to water until it is sealed.

Also read the Work instructions and pattern protection tabs below.

The package contains instructions in English.


How do I use IOD Paint Inlays sheets?

Step 1: Plan the layout of your designs for the surface.

Step 2: Using the grids on the back of the inlay sheet, cut as needed and set aside. If you are using a repeating pattern and are lining up the pattern continuously, trim the extra margin from each sheet.

Step 3: Apply a generous and even layer of mineral-based lime paint to the properly prepared surface. Work in small sections, usually no more than 30x30cm/or sheet size, so you can control the drying window of the paint as you work.

Step 4: While the paint is still wet, place the sheet pattern side down (with grids printed on the back to make it easy to tell the front and back apart) on the wet paint and smooth it out, but avoid moving the sheet in the wet paint.

Step 5: Lightly spray with a steady mist of water to wet the sheet. Use a smooth damp sponge, a soft folded cloth or a small IOD Silicone Paint Blade and dab with even light pressure to make good contact with the painted surface. Avoid excessive movement or dragging of the Paint Inlay after it has been placed, as this may cause blurring or smudging.

Step 6: Repeat steps 3-5 to complete the pattern and line up the sections as needed. If necessary, the raster lines help to match the edges of the pattern together.

Step 7: Allow the Inlay pattern to dry. The drying time can vary from 10 minutes to an hour depending on the conditions. Paper sprayed wet turns lighter when it dries.

Step 8: When you are ready to remove the Paint Inlays from the surface, spray evenly with water again and allow to absorb for 30 seconds; this helps the pattern to come off. Gently pull the paper upwards starting at one corner and holding it at a low angle. It should come off easily without tearing. If not, spray again, wait a moment, then try again.

Step 9: You can fade or soften the pattern with water if you want, because the pigment is still mobile and active. You can even add additional colors.

Step 10: When you are satisfied with the Paint Inlay design, allow the project to dry completely. The drying time varies depending on the thickness of the paint layers, the amount of water used in the process, room temperature and weather conditions. If the surface feels cold, it is not completely dry. To be safe, wait 24 hours.

Step 11: Now it's time to finish the surface with a coating.

There are a few different options for finishing:

Spray your desired water-based sealant with a spray gun designed for paints and surface treatment agents, add e.g. Finishing Coat from the spray bottle.


Lightly brush a water-based polyurethane-type sealer, varnish or epoxy directly onto the work. This method is likely to result in some degree of pigment transfer; this is minimized by avoiding overprocessing.


Create a "mistable" setting spray using a 50/50 mix of water and your favorite water-based sealer. Apply with a fine atomizer. Allow it to dry completely and then apply a brush-on sealer.


Align your work first with a commercially available spray-on sealer or artist's fixative. Let it dry completely and apply your desired finish.
You can also use wax to seal your piece. Apply according to the manufacturer's instructions and buff to a shine as usual.


Some oil-based finishes can be applied directly with a brush to the surface without reactivation. Test on a small area before applying. Note that most oil-based finishes tend to turn amber over time, and this is most noticeable on lighter colors.


IMPORTANT NOTE: Always check sealant/finish product compatibility when using more than one product.

Muistilista - näitä ainakin tarvitset, kun aloitat huonekalujen tai seinän maalauksen:

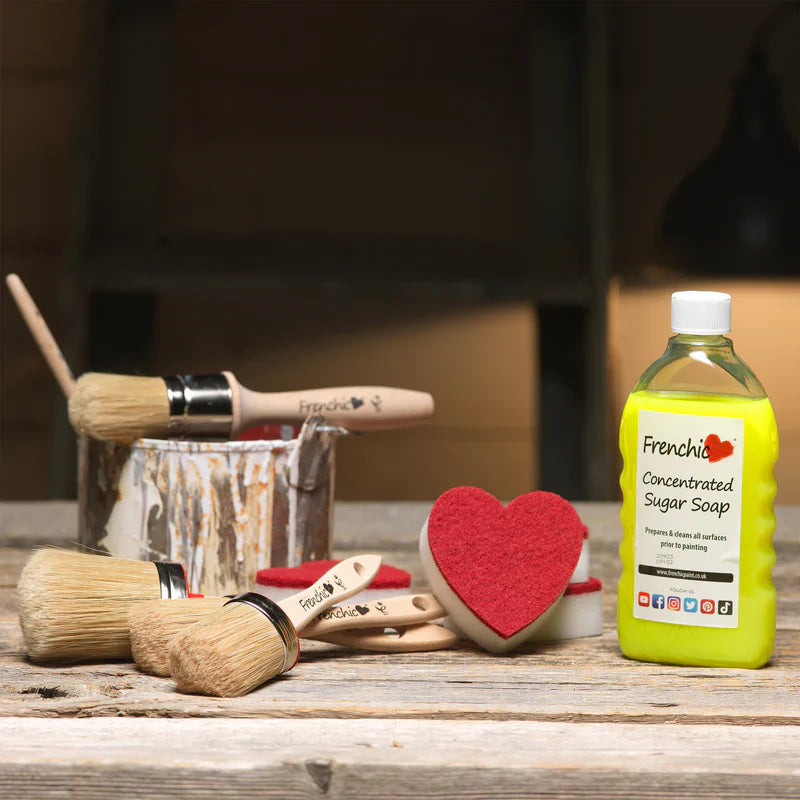
  1. Puhdistusaine, joka poistaa tehokkaasti likaa ja rasvaa. Sugar Soap on Frenchic-sarjan tehokas kalustepesuaine, joka on tarkoitettu huonekalujen ja muiden maalattavien pintojen puhdistukseen ennen maalausta.
  2. Laadukas sivellin tai tela. Tässä ei kannata säästää. Ovaalit Frenchic-siveltimet ovat aivan jotain muuta kuin tavanomaiset 'autotallisiveltimet' - Ihastut siveltimiimme varmasti! Lue hyvät vinkit siveltimen valintaan täältä.
  3. Hionta tai karhennustarvikkeet. Riippuen kalusteestasi ja tekniikastasi tarvitset hiontapaperia, tai kätevän, uudelleen käytettävän hiontasienen
  4. Maalia.  Jos et ole aikasemmin kokeillut Frenchic-sarjaa, aloita palkitusta Lazy Range-sarjasta.
  5. Myös kaikki muutkin Frenchic-maalisarjat sopivat huonekalujen maalaukseen tai seinien maalaukseen. Keraamisten laattojen maalaukseen sopii Al Fresco-sarja ja seinille huippulaadukas seinämaalimme Chalk Wall Paint.
  6. Tarvitset vielä ehkä vahaa, sabloonan, viimeistelypinnoitteen, metallipigmenttiä tai krakelointiainetta rippuen millaista maalaustekniikaa ajattelit toteuttaa.
  7. Muista myös laadukas teippi, jos teet rajauksia
  8. Hyödynnä verkkokaupan Tarvikepakkauksia ja Pakettitarjouksia.


    Vinkki! Jos olet innokas nikkari tai maalari ja teet paljon erilaisia DIY-projekteja, niin kaksi Frenchic-tuotetta ovat - 'must have'- tekevien DIY-ihmisten luottotuotteita, joita kannattaa aina olla omassa maalihyllyssä saatavilla kun tekemisen into iskee: Frenchic-vahat ja Finishing Coat. Nämä monipuoliset Frenchic-tuotteet sopivat hyvin erilaisiin maalaus- ja diy projekteihin.

    Ja tietysti valkoinen ja musta maali, joita voit käyttää omiin sävysekoituksiin, valitse esimerkiksi puhdas valkoinen Wedding Cake ja musta Loof.

    Pyrimme kaikin tavoin varmistamaan, että verkkokaupan sävyt vastaavat mahdollismman lähelle oikeita sävyjä, mutta sävyt voivat vaihdella eri laitteissa riippuen useista tekijöistä, kuten puhelimesi, tabletin tai tietokoneesi näytön asetuksista.

    Tämä tarkoittaa, että emme voi taata, että maalisävy vastaa täsmälleen sitä, mitä näet omalla näytölläsi.

    Suosittelemme aina kokeilemaan sävyä siinä tilassa ja pinnassa mihin sitä on ajateltu ennen suurempaa projektia. Tarkastele ja arvioi sävyä vasta kuivana ohjeen mukaisesti vähintään kahteen kertaan maalattuna. Tilaa pieni purkki testailuun tai käy lähimmässä jälleenmyyjäliikkeessäsi katsomassa värejä itse.

    Voit lukea lisää sävyistä tästä.

    Huomioi myös, että varaat tarpeeksi maalia projektiisi:

    Pidä huoli, että varaat maalia tarpeeksi projektin loppuun viemiseksi. Alan normaali standardineuvo on, että jos tarvitset enemmän kuin yhden maalipurkin, varmista, että ne ovat samaa valmistuserää (batch numero) tai jos se ei ole mahdollista, sekoita maalierät ennen maalaamista yhtenäisen lopputuloksen varmistamiseksi. Maalin huolellinen sekoittaminen (pitkään ja pohjia myöden) on tärkeää oikean sävyn lopputulokseksi.
    Jos tarvitaan paikkamaalausta, suosittelemme koko alan maalausta pienen paikkamaalauksen sijasta, jotta korjaustyö olisi mahdollisimman huomaamaton.

    Verkkokaupassamme voit maksaa tilauksesi seuraavilla tavoilla:

    • Suomalaisten pankkien verkkomaksu (Aktia, Danske Bank, Handelsbanken, Nordea, OmaSP, Osuuspankki, POP -pankki, Säästöpankki, S -pankki ja Ålandsbanken).

    • Visa-, Visa Debit-, Visa Electron-, MasterCard-, Debit MasterCard – ja American Express -korteilla.

    • Saat tilausvahvistuksen sähköpostiisi ja voit kätevästi tulostaa tilausvahvistuksesta itsellesi PDF kuitin.
    • Mobiilimaksutapa MobilePay, Pivo ja Siirto.

    • Muut maksutavat OP-Lasku, Jousto ja Walley.

    • Mikäli sinulla on kysyttävää tuotteista, maksutavoista tai toimituksesta:

      Asiakaspalvelumme auttaa!

    Frenchic verkkokaupan tilauksesi toimittaa Matkahuolto

    Voit valita kassalla seuraavista vaihtoehdoista:

    • Matkahuolto Lähellä - noutopiste (mm. R-Kioskit ja vastaavat). Toimitusaika 2-5 arkipäivää. Hinta 8,50 euroa.

    • Matkahuolto Kotijakelu, viesti ennen toimitusta Hinta 15 euroa.

    • Matkahuolto Jakopaketti perille, ark 8-16, ei soittoa. Hinta 16 euroa.

    • Mikäli sinulla on kysyttävää tuotteista, maksutavoista tai toimituksesta:

      Asiakaspalvelumme auttaa!

    Noudathan pakettisi ajoissa noutopisteestä. Tarkista sähköpostistasi tilauksesi seurantatiedot tai kuuluuko toimitukseen soittoa ennakkoon. Suosittelemme, että otat käyttöön Matkahuollon oman Paketit apin (play kaupasta), jolla voit kätevästi seurata pakettiasi sekä vaihtaa noutopistettä tarvittaessa.

    Pakettien säilytysaikaa on lyhennetty jopa puoleen noutopisteissä.

    HUOM! Ethän tilaa herkästi paleltuvia Frenchic-tuotteita ulkona sijaitseviin, lämmittämättömiin noutopisteisiin.

    Pakettisi toimitetaan Sinulle Suomesta, Tampereelta.

    Frenchic Finland on kotimainen verkkokauppa ja suomalainen perheyritys.

    Kiitos, että käytät kotimaista verkkokauppaa!

    Oletko jo käyttänyt Frenchic-verkkokaupan tuotteita?

    Jokaiselle yritykselle on tärkeää saada asiakaspalautetta tuotteista, niin myös meille! Tekemällä tuotearvostelun, annat arvokasta tietoa myös muille, jotka vielä miettivät omaa projektiaan.

    Arvostamme mielipidettäsi! Klikkaa käyttämäsi tuotteen kohdalla tekstiä: KIRJOITA ARVOSTELU  ja kerro mielipiteesi. Voit lisätä palautteesesi myös kuvan.

    Sydämellinen kiitos palauteestasi!