Decoupage-tekniken är populär – här är enkla instruktioner och tips
Lager-på-lager och kombinationen av olika måleritekniker är det som gör att möbler målade med chalk paint är som konstverk – sådana är nästan omöjliga att skapa med vanliga möbelmålarfärger.
Du behöver mod och så många verktyg och nyanser som möjligt – så blir slutresultatet levande och intressant. Vi har samlat denna kunskapsbank för dig så att du enkelt kan komma igång. Vi erbjuder också mindre bildark för små projekt och övning.
Konstarken är imponerande, cirka 43 x 58 cm stora, eftersom de är avsedda att användas på möbler och i olika mixed media-konstprojekt.
Decoupage historia
Découpage är ett 1900-talets ord som kommer från franskans découpeur, vilket betyder att skära. Pappersutskärningar samlas och fästs på en nymålad eller lackad yta, vilket gör att slutresultatet ser ut som en målning eller inläggning.
I Kina användes redan på 1200-talet utskuret papper för att dekorera lyktor, fönster och lådor. Italien, särskilt Venedig, förde på 1600-talet in denna konst i Europa. Decoupage har utvecklats under århundraden och erbjuder oändliga möjligheter till kreativitet.
I denna Frenchic Blog presenteras decoupage-tekniken för möbler och i slutet ser du en video med ett exempel på ett färdigt projekt samt en lista över material som hjälper dig att komma igång.
Shoppa – fantastiska konstark för decoupage-teknik

Få enkla tips här som garanterat hjälper dig att lyckas!
-
Förbered ytan
Allt börjar med ett bra förarbete. Se till att ytan är ren och dammfri. -
Välj grundfärg noggrant
Tänk på området du tänker täcka med arket:
- Helt täckande: välj en ljus grundfärg så att arkets mönster framträder.
- Delvis täckande: använd en nyans som matchar arkets bakgrundsfärg för ett naturligt resultat.
-
Jämna ut ytan
Måla ytan slät, slipa lätt och ta bort damm. -
Placera arket
Applicera ett tunt lager Finishing Coat eller Tuff Top Coat och placera arket på en fuktig yta. Släta försiktigt ut med hjälp av en plastpåse. -
Separera arkens lager
Använd endast det översta, mönstrade lagret. -
Prova detta istället för sax
Blöt penseln och måla längs ytterkanten av mönstret, riv sedan försiktigt – så blir kanten naturlig. -
Torka och avsluta
Torka med hårtork, slipa lätt och lägg på ett nytt lager Finishing Coat. Upprepa vid behov 1–2 gånger.


-
Lägg till en speciell detalj (valfritt)
Prova Easy Crackle för att skapa en sprickeffekt. Måla först med en mörk nyans, tillsätt Easy Crackle och avsluta med en ljus – resultatet blir en fantastisk åldrad yta.
Roliga stunder med decoupage-teknik – njut av kreativiteten och det vackra slutresultatet!
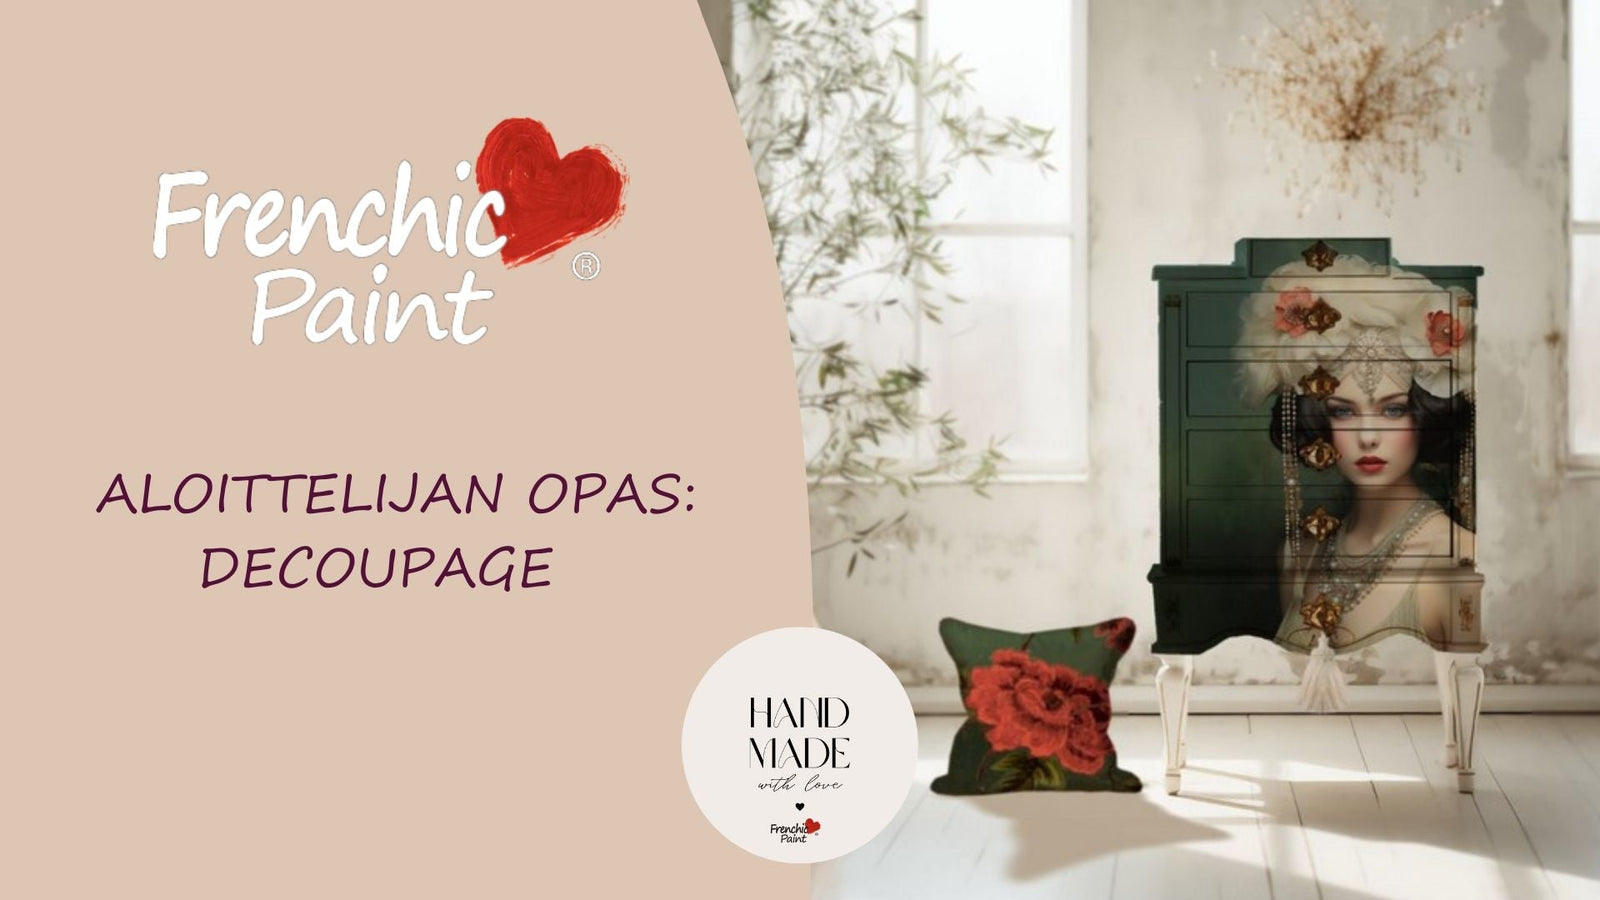
Du kan avsluta små och stora möbler med decoupage-teknik

Decoupage-teknik i liten och stor skala
I de mest skickliga arbetena används flera nyanser, vaxer och krackeleringsmedel. Bilden ser som bäst handmålad ut.
Se videon i slutet av bloggen som visar hur enkelt du fäster ett decoupage-ark på en möbel.

DIY återvinningskonst
Gör en tavla ovanpå en gammal ram och använd ett decoupage-ark som bild – perfekt för återvinningsinredning!

Välj möbel
Möbelns storlek och form påverkar valet av ark och bild. Rengör ytan noggrant med Sugar Soap före målning.

Val av färg och grundfärg
Det är inte värt att välja ett ljust ark för en mörk yta – färgerna passar inte naturligt. På en ljus bakgrund återges nyanserna bäst.

Den vita basen framhäver färgerna
Du kan använda till exempel Lazy Range: Whitey White eller Wedding Cake-nyanser.
Placering och fastsättning av arket
Arket läggs som tapet och klipps upp i skarvarna. Handtagen tas bort före fastsättning.
Målning och efterbehandling
Lägg till fler nyanser och tona kanterna. Du kan fortsätta måla bilden. Den spruckna effekten skapas med Easy Crackle.
Avsluta med vax och Finishing Coat – du får en hållbar och vacker yta. Läs mer om användning av vax.
Tillbehör för decoupage-projekt
- Ark
- Hårtork
- Plastpåse eller plastfolie
- Slipverktyg
- Rengöringsmedel
- Penslar
- Finishing Coat
- Brunt vax
- Easy Crackle
- Vit grundfärg
Se andras projekt i vår Facebook-grupp!
Se videon, hur en gammal byrå blir ett fantastiskt konstverk med hjälp av decoupage-ark:

